
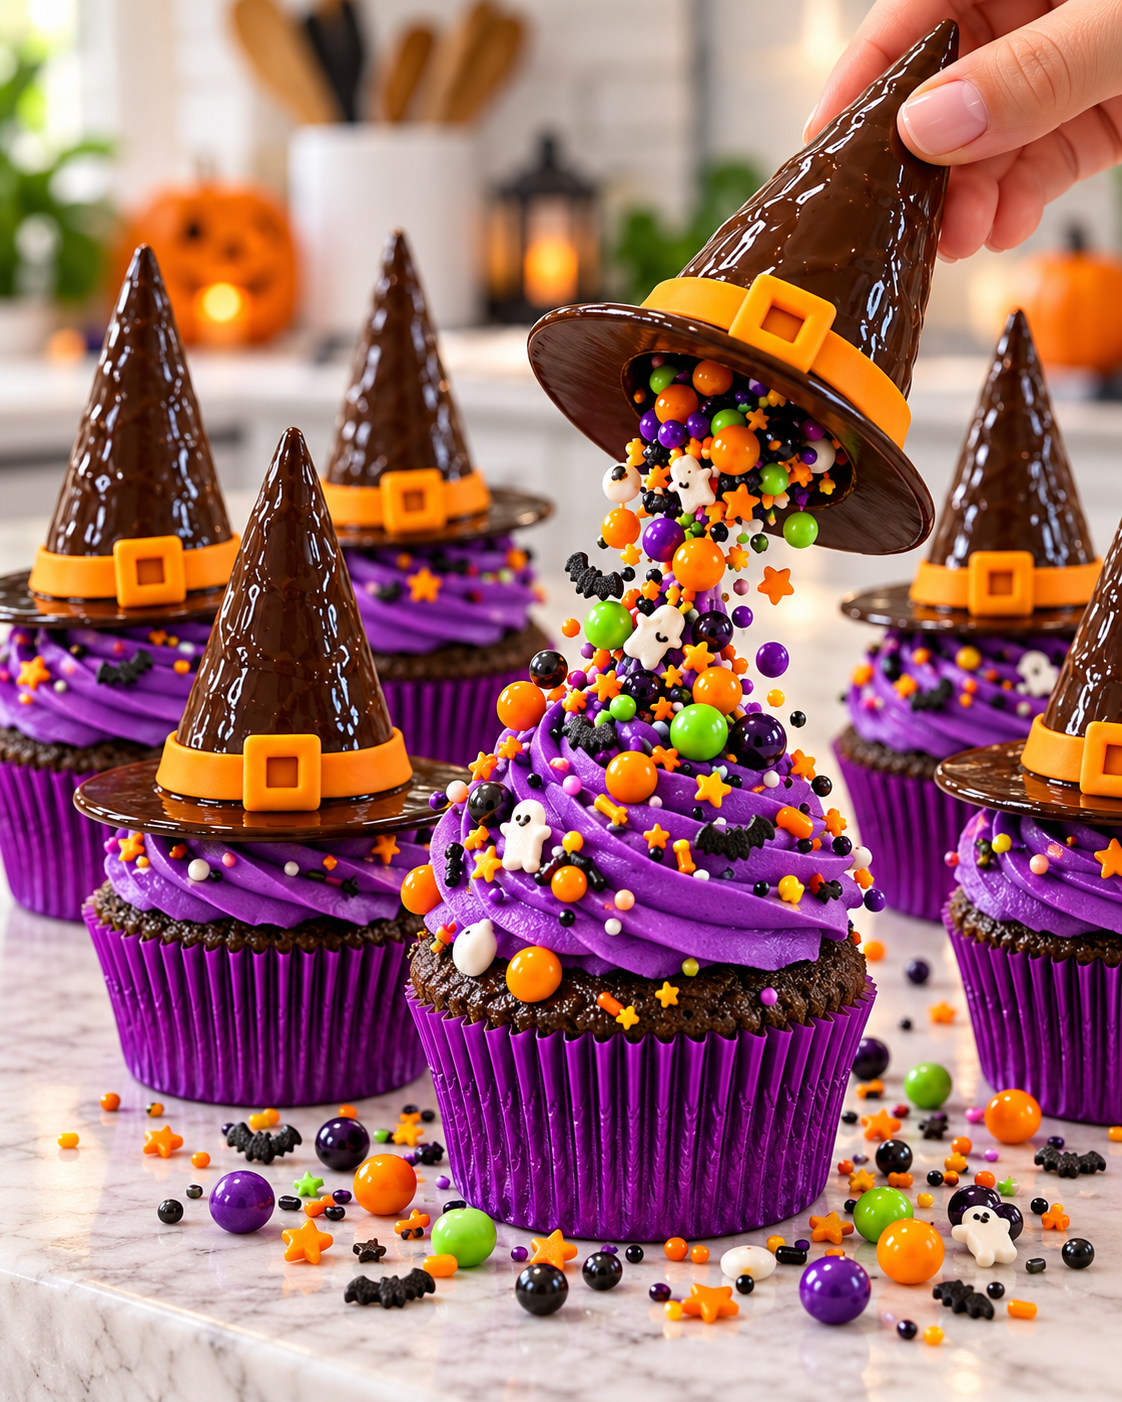
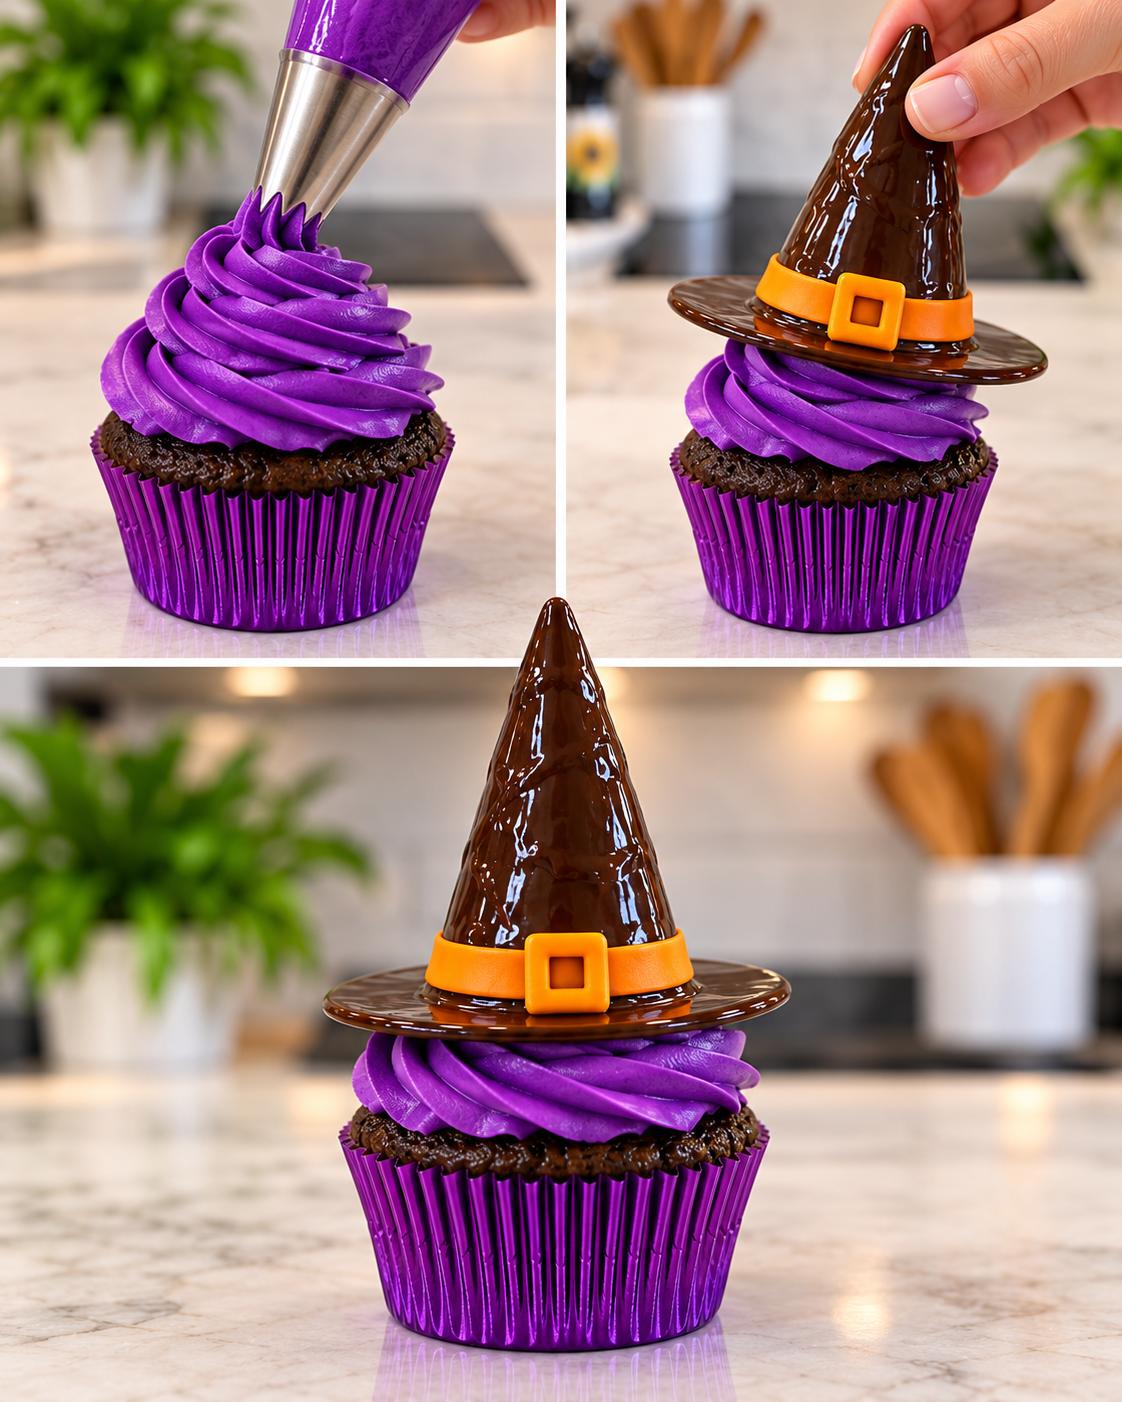
Magic Treat-Filled Witch Hat Cupcakes turn a simple chocolate cupcake into a playful Halloween surprise. Each cupcake is crowned with a glossy chocolate witch hat, a bright orange fondant buckle, and a tall swirl of purple buttercream. The best part is hidden inside: lift the hat and colorful candy pieces tumble over the frosting like a tiny magic trick.
Why You Will Love These Witch Hat Cupcakes
- A real surprise: every chocolate hat hides candy and Halloween sprinkles.
- Party-ready: the bold purple, orange, and chocolate colors look beautiful on a dessert table.
- Easy to customize: use your favorite cupcakes, frosting, or small candy mix.
- Fun to serve: guests lift the hat themselves and reveal the treats inside.
- Make-ahead friendly: prepare the chocolate hats in advance and assemble shortly before serving.
Ingredients You Need
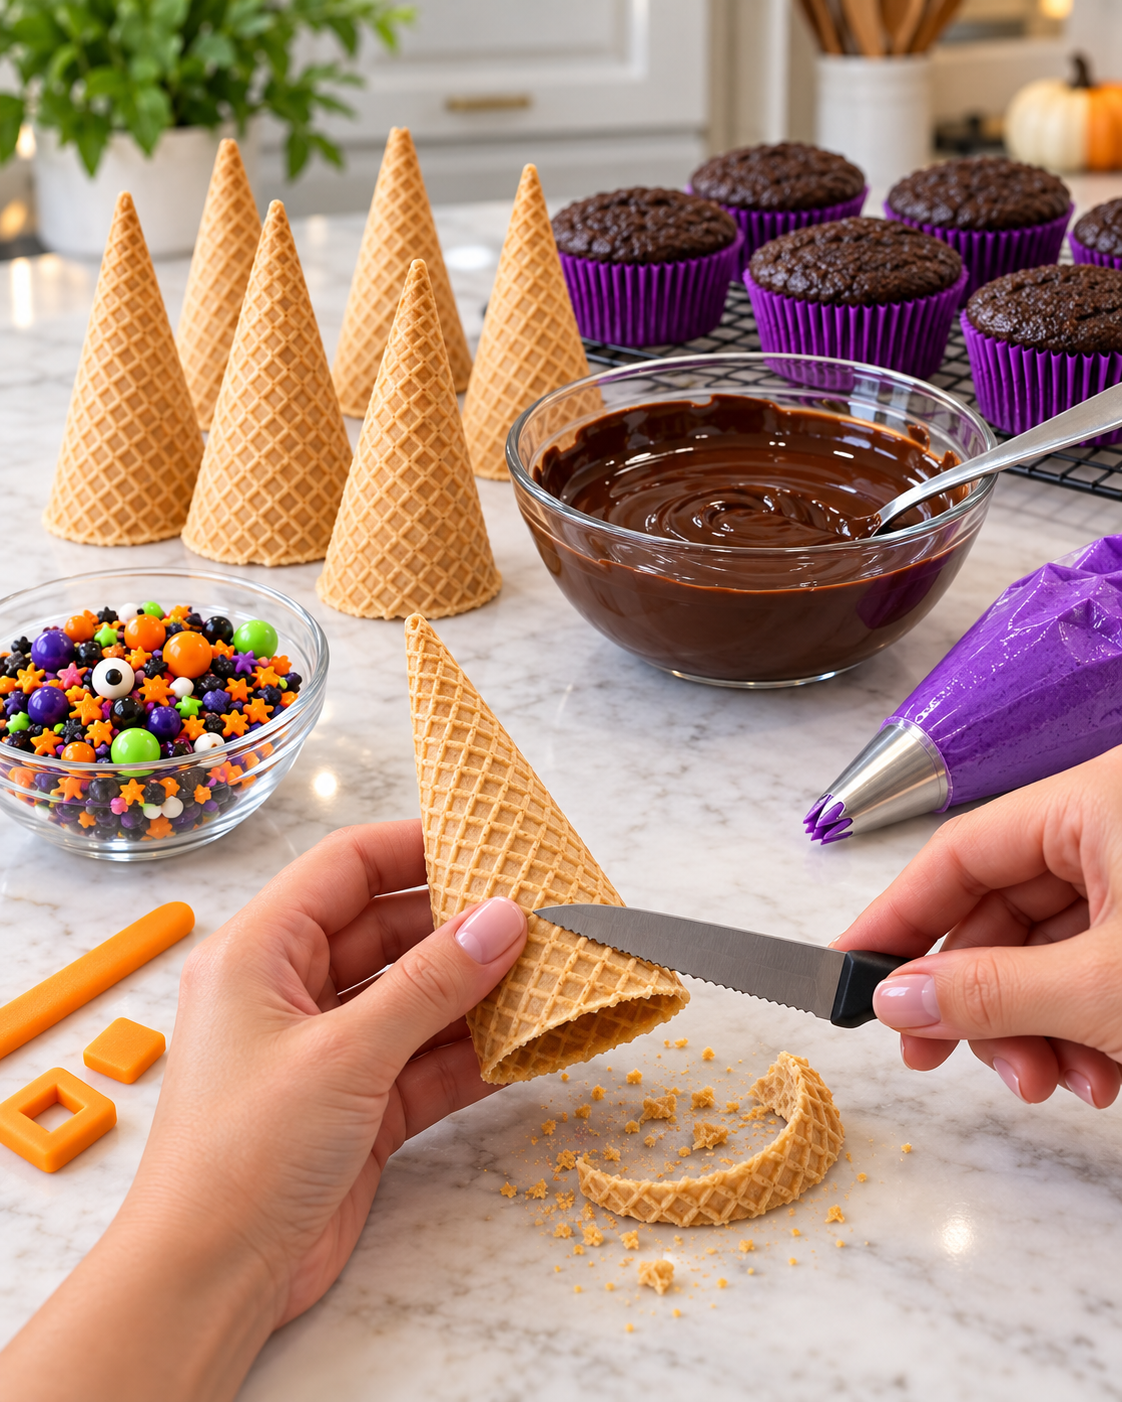
You only need six main ingredients for these Magic Treat-Filled Witch Hat Cupcakes. Waffle sugar cones create the pointed hats, while melted dark chocolate gives them a smooth shell and forms the wide brim. Orange fondant makes the band and buckle. Completely cooled chocolate cupcakes support tall swirls of purple buttercream, and a mix of miniature candy pieces and Halloween sprinkles creates the hidden surprise.
How to Make Magic Treat-Filled Witch Hat Cupcakes
1. Trim the Sugar Cones
Place each waffle cone on a cutting board. With a small serrated knife, gently saw around the open rim to shorten the cone and create a straight edge. Work slowly because waffle cones can crack if pressed too hard. Test each cone on a flat surface and trim any uneven points.
2. Coat the Cones and Form the Brims
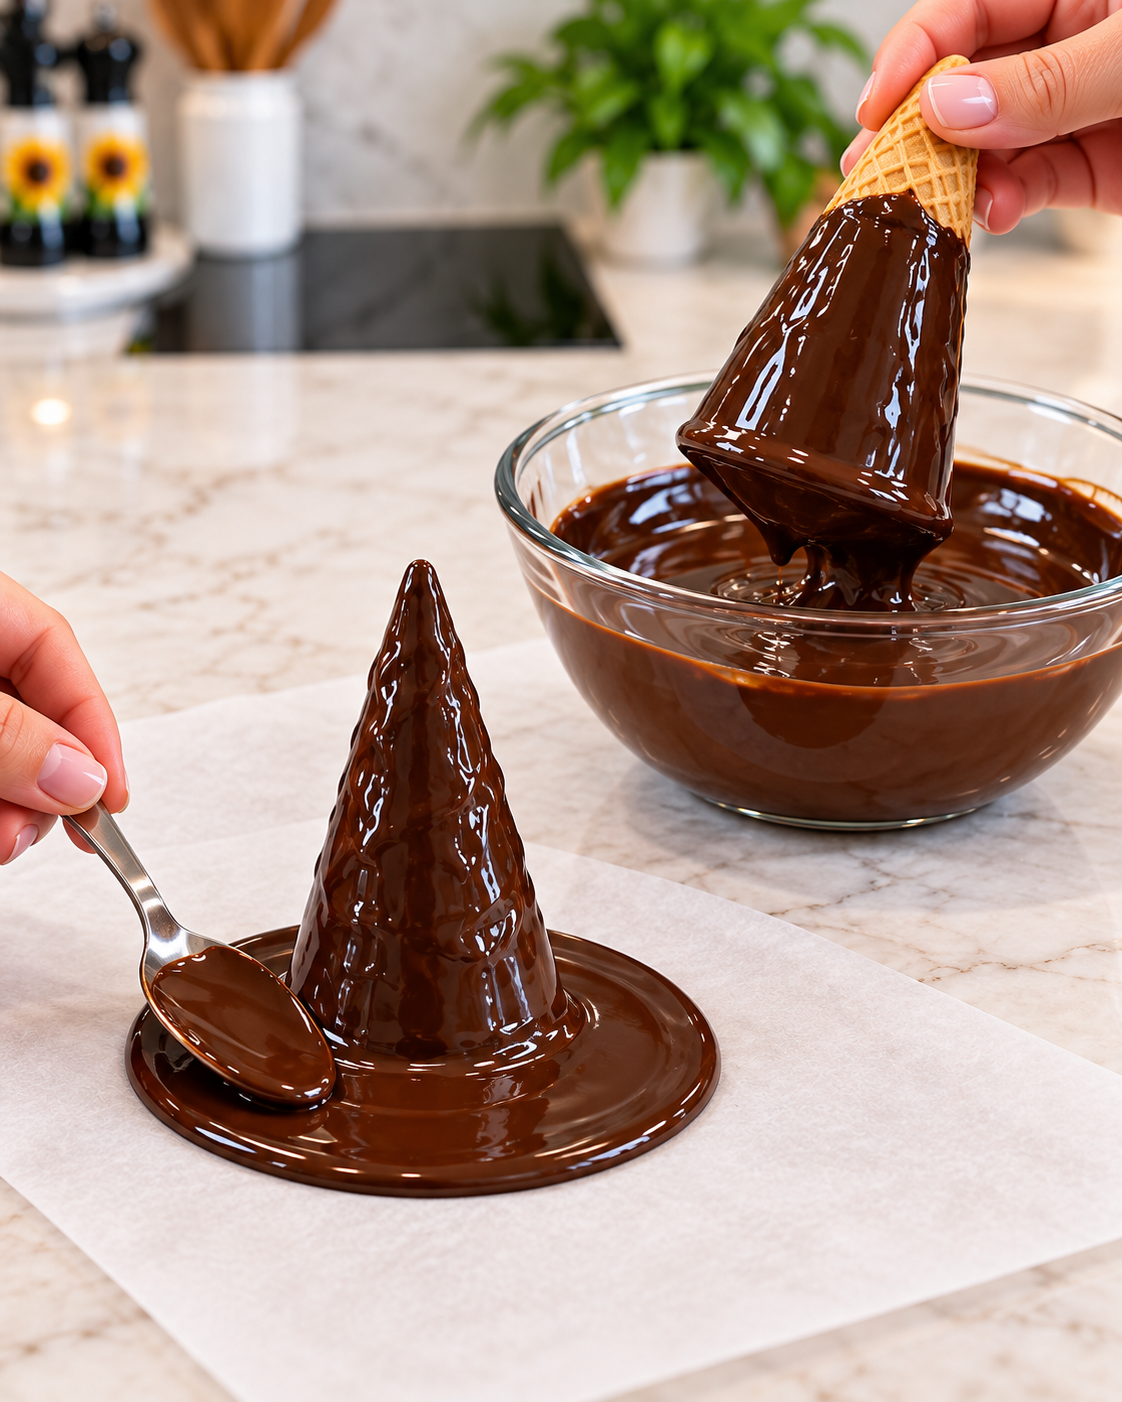
Melt the dark chocolate until smooth. Coat every cone completely, allowing the excess to drip back into the bowl. Place the coated cone point-side up on parchment paper. Spoon more chocolate around its base and spread it into a flat circle to create the brim. A small offset spatula or the back of a spoon makes this easy. Refrigerate until the chocolate is completely firm.
3. Add the Orange Band and Buckle
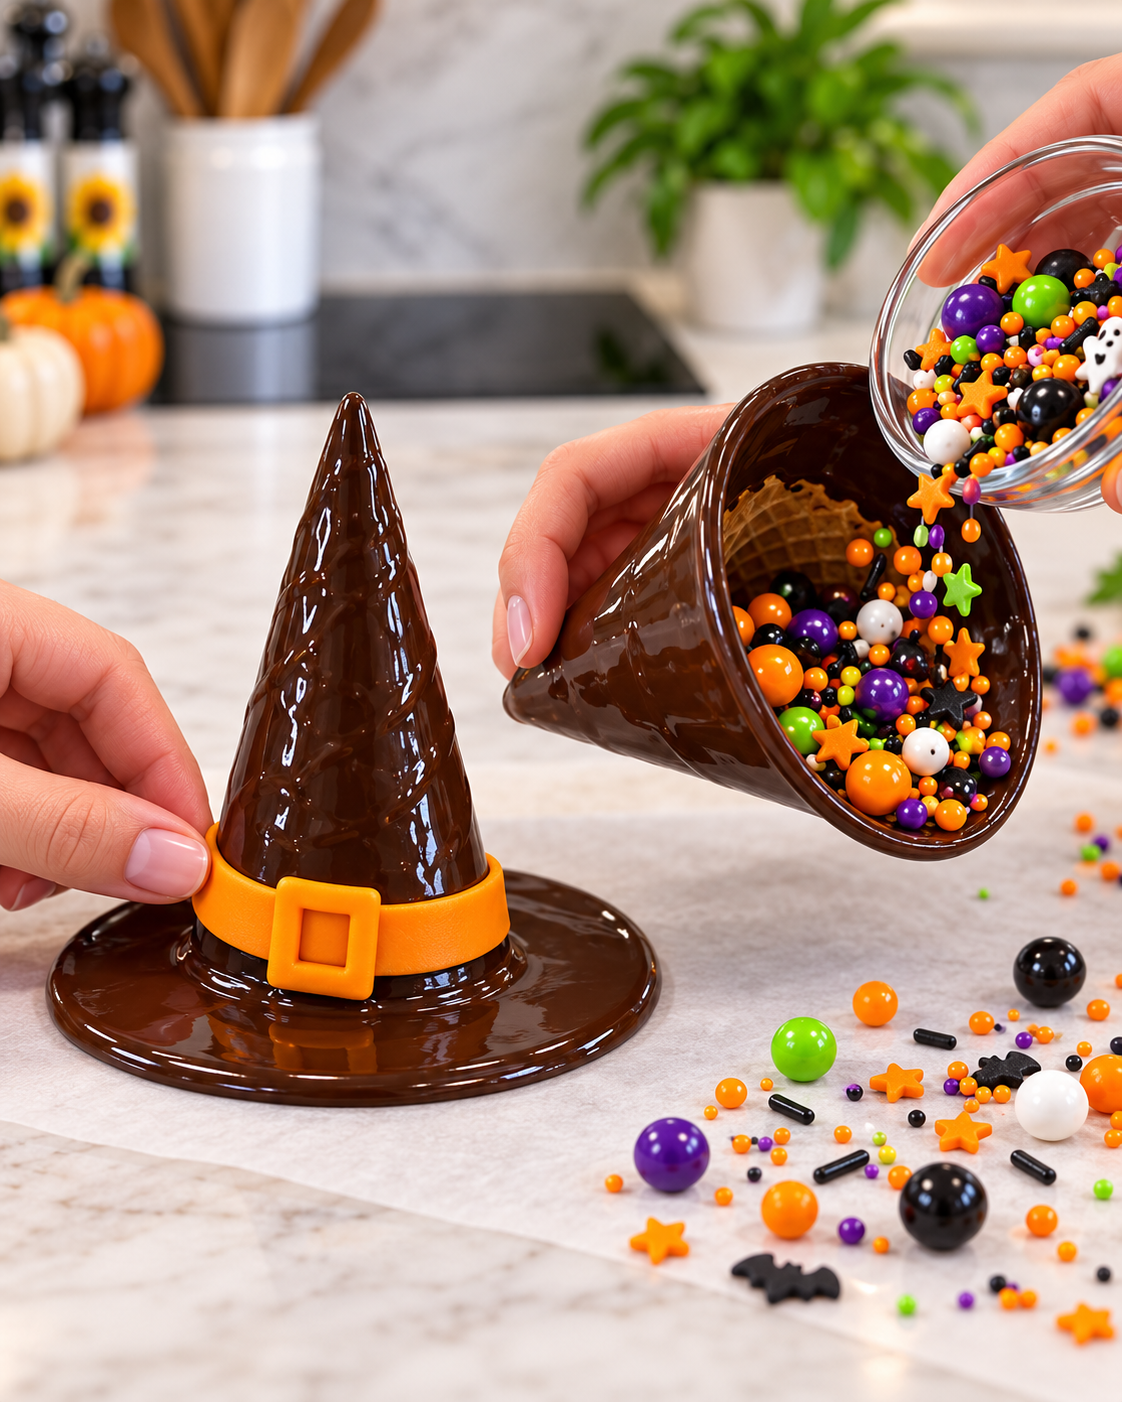
Roll the orange fondant into thin strips. Wrap one strip around the base of each hardened cone and press the ends together at the back. Shape a small square buckle and attach it to the front. If the fondant does not stick, brush the back with the tiniest drop of water or melted chocolate.
4. Fill the Chocolate Hats
Turn every hat upside down and fill the hollow cone with mini candy pieces and Halloween sprinkles. Do not pack them tightly; loose candy will tumble out more easily when the hat is lifted. Leave a little room near the opening so the frosting can help hold the treats inside.
5. Frost and Assemble
Fit a piping bag with a large star tip and fill it with purple buttercream. Pipe a tall, sturdy swirl onto every cooled chocolate cupcake. Carefully turn a filled hat upright and place it over the frosting. Press only lightly so the brim stays intact and the frosting seals the opening. Keep the finished cupcakes chilled until serving.
Success Tips
- Cool the cupcakes completely. Warm cake will soften the buttercream and chocolate.
- Trim with a sawing motion. A serrated knife is less likely to shatter the cones.
- Use properly melted chocolate. Keep water away from the bowl so the chocolate stays smooth.
- Chill before decorating. The orange fondant is easier to attach when the chocolate shell is firm.
- Choose small candy. Mini pieces and sprinkles flow out of the cone better than large candies.
- Lift by the brim. Encourage guests to hold the wide brim instead of pulling the pointed cone.
Make-Ahead and Storage
The chocolate witch hats can be made up to three days ahead. Store them unfilled in a cool, dry container with parchment between layers. Add the candy on the day of serving so the waffle cones stay crisp. Frost the cupcakes up to one day ahead and refrigerate them in a covered container. For the cleanest presentation, place the filled hats over the cupcakes a few hours before the party.
Keep assembled cupcakes refrigerated, especially if your buttercream contains dairy. Let them sit at room temperature for about 15 minutes before serving for the best cake and frosting texture. Avoid warm rooms or direct sunlight because the chocolate brims can soften.
Serving Ideas
Arrange the cupcakes on a black or purple platter and scatter a few Halloween sprinkles around the base. For the full surprise, serve each cupcake with the hat in place and invite guests to lift it slowly. The colorful candy cascade is especially fun for a children’s Halloween party, classroom celebration, or spooky movie night. Small name cards can also turn them into edible place settings.
Frequently Asked Questions
Can I use milk chocolate instead of dark chocolate?
Yes. Milk chocolate works well, although the hats will taste sweeter and may soften slightly faster in a warm room. Candy melts are another easy option because they set firmly.
What if a cone cracks while trimming?
Small cracks can often be covered with melted chocolate. If the cone breaks badly, save the pieces as crunchy cupcake toppings and start with a new cone.
Can I use store-bought cupcakes and frosting?
Absolutely. Store-bought chocolate cupcakes and ready-made buttercream make this Halloween dessert much faster. Tint vanilla frosting with purple gel food coloring and pipe it with a large star tip.
How do I keep the candy inside?
Pipe a tall, thick frosting swirl and set the filled hat directly over it. The frosting acts like a soft seal. Keep the cupcake level until it is time to lift the hat.
Magic Treat-Filled Witch Hat Cupcakes Recipe
Yield: 6 cupcakes | Prep Time: 35 minutes | Chill Time: 20 minutes | Total Time: 55 minutes
Ingredients
- 6 waffle sugar cones
- 12 ounces dark chocolate, melted
- 3 ounces orange fondant
- 6 chocolate cupcakes, completely cooled
- 3 cups purple buttercream frosting
- 1 cup mini candy pieces and Halloween sprinkles
Instructions
- Carefully trim the open rim of each sugar cone so it stands straight and is slightly shorter.
- Coat each cone completely with melted dark chocolate, then stand it point-side up on parchment.
- Spoon additional melted chocolate around the base and spread it into a flat round brim. Refrigerate until firm.
- Wrap a thin orange fondant strip around the cone base and add a small square buckle to the front.
- Turn each hardened hat upside down and fill it with mini candy pieces and sprinkles.
- Pipe a tall swirl of purple buttercream onto each cooled chocolate cupcake.
- Turn each filled hat upright and place it over the frosting. Keep chilled until serving.
Serving note: Lift the hat by its brim so the hidden candy tumbles over the purple frosting.
These Magic Treat-Filled Witch Hat Cupcakes are more than a cute Halloween dessert. The crisp cone, rich chocolate, creamy frosting, and surprise candy center make every bite fun—and the reveal gives your party guests a moment they will remember.