
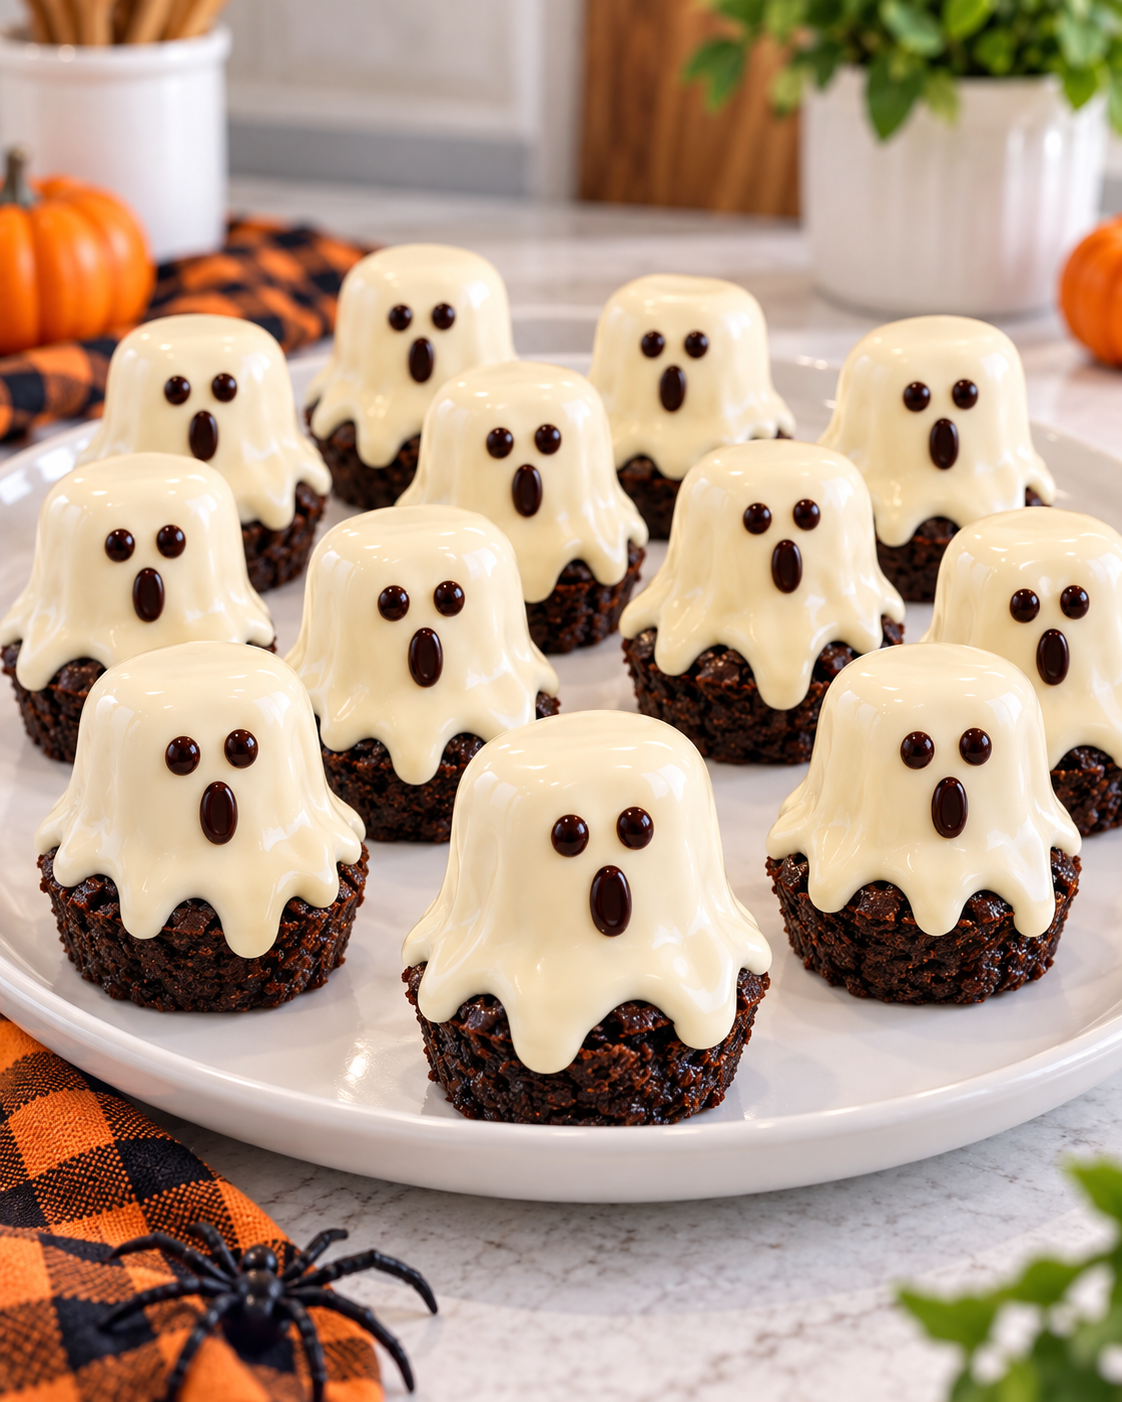
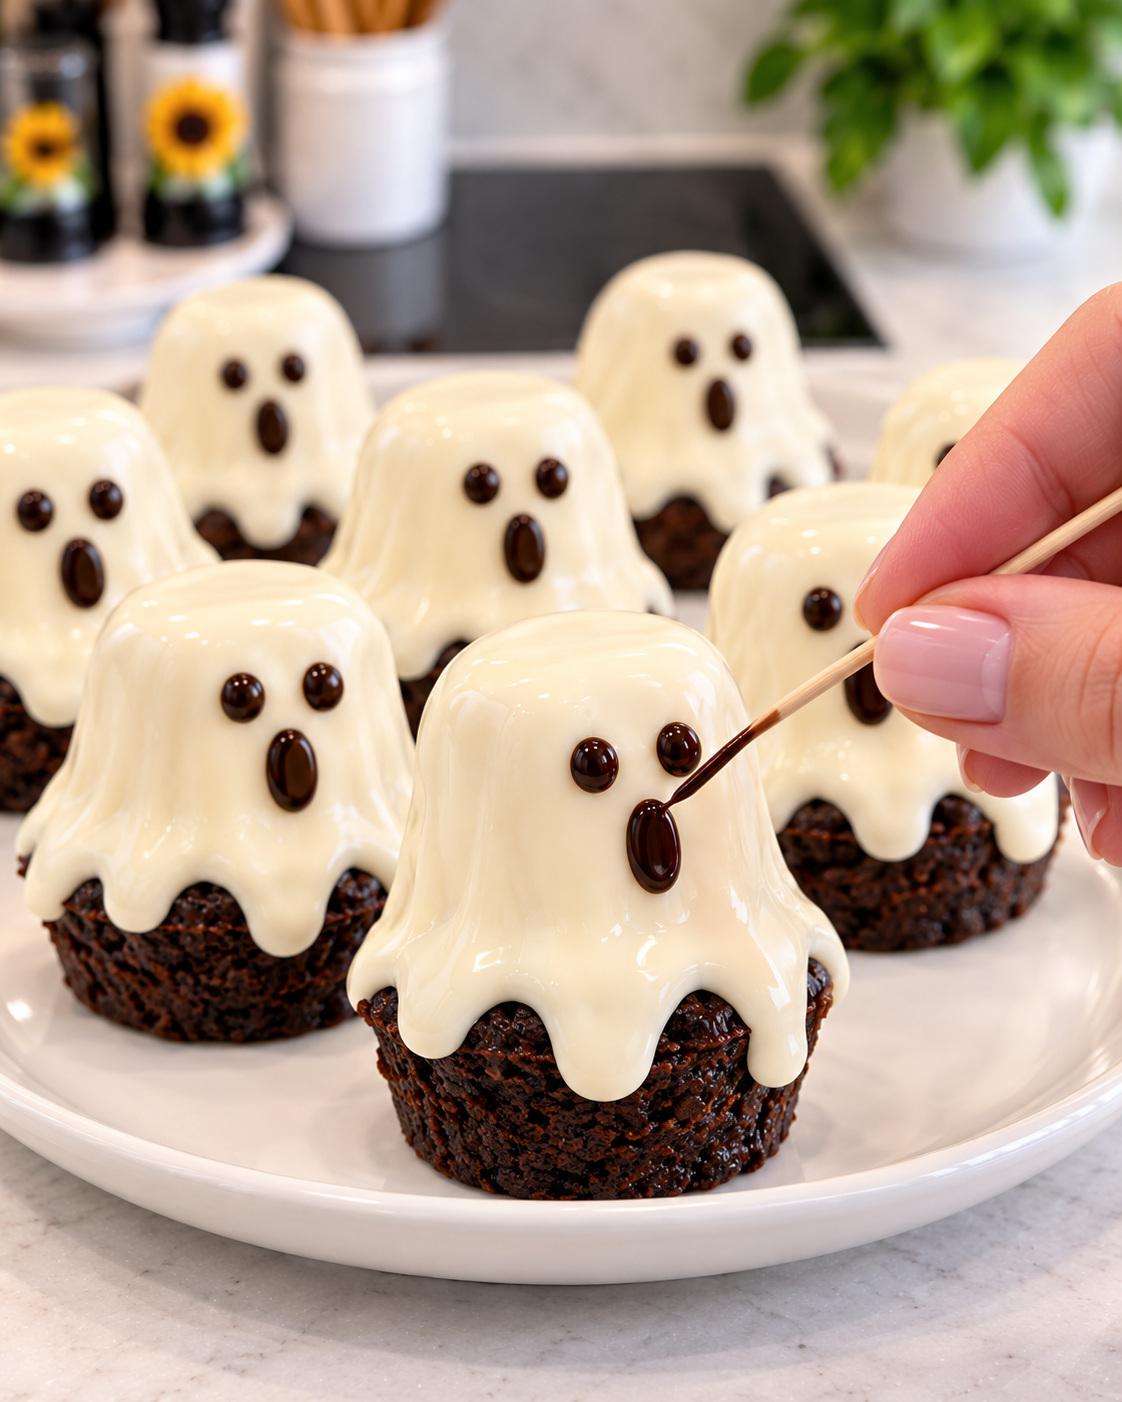
These Halloween Ghost Brownie Bites are an easy, playful dessert made with rich mini brownies, fluffy marshmallows, and a glossy white chocolate coating. Each bite-sized brownie becomes a friendly ghost with just three simple chocolate details: two round eyes and one surprised oval mouth.
Because the brownies are already baked and cooled before decorating, this recipe is perfect for a Halloween party, classroom treat table, or family baking activity. The dramatic draped shape looks impressive, yet the decorating method is wonderfully simple.
Why You’ll Love These Ghost Brownies
- Simple ingredients: you only need brownie bites, marshmallows, and two kinds of chocolate.
- Easy to decorate: the flowing white coating naturally creates the ghost shape.
- Party-friendly: each guest gets an individual Halloween dessert.
- Make-ahead option: the brownies can be baked a day before decorating.
- Kid-friendly fun: children can help place the marshmallows and add the chocolate faces.
Ingredients You’ll Need
- Mini brownie bites: use completely cooled brownies with flat enough tops to support the marshmallows.
- Large marshmallows: these create the height and rounded head of each ghost.
- White chocolate or candy melts: either option forms the smooth draped coating.
- Semisweet chocolate: a small amount is enough for all the eyes and mouths.
How to Make Halloween Ghost Brownie Bites
1. Prepare the brownie bases
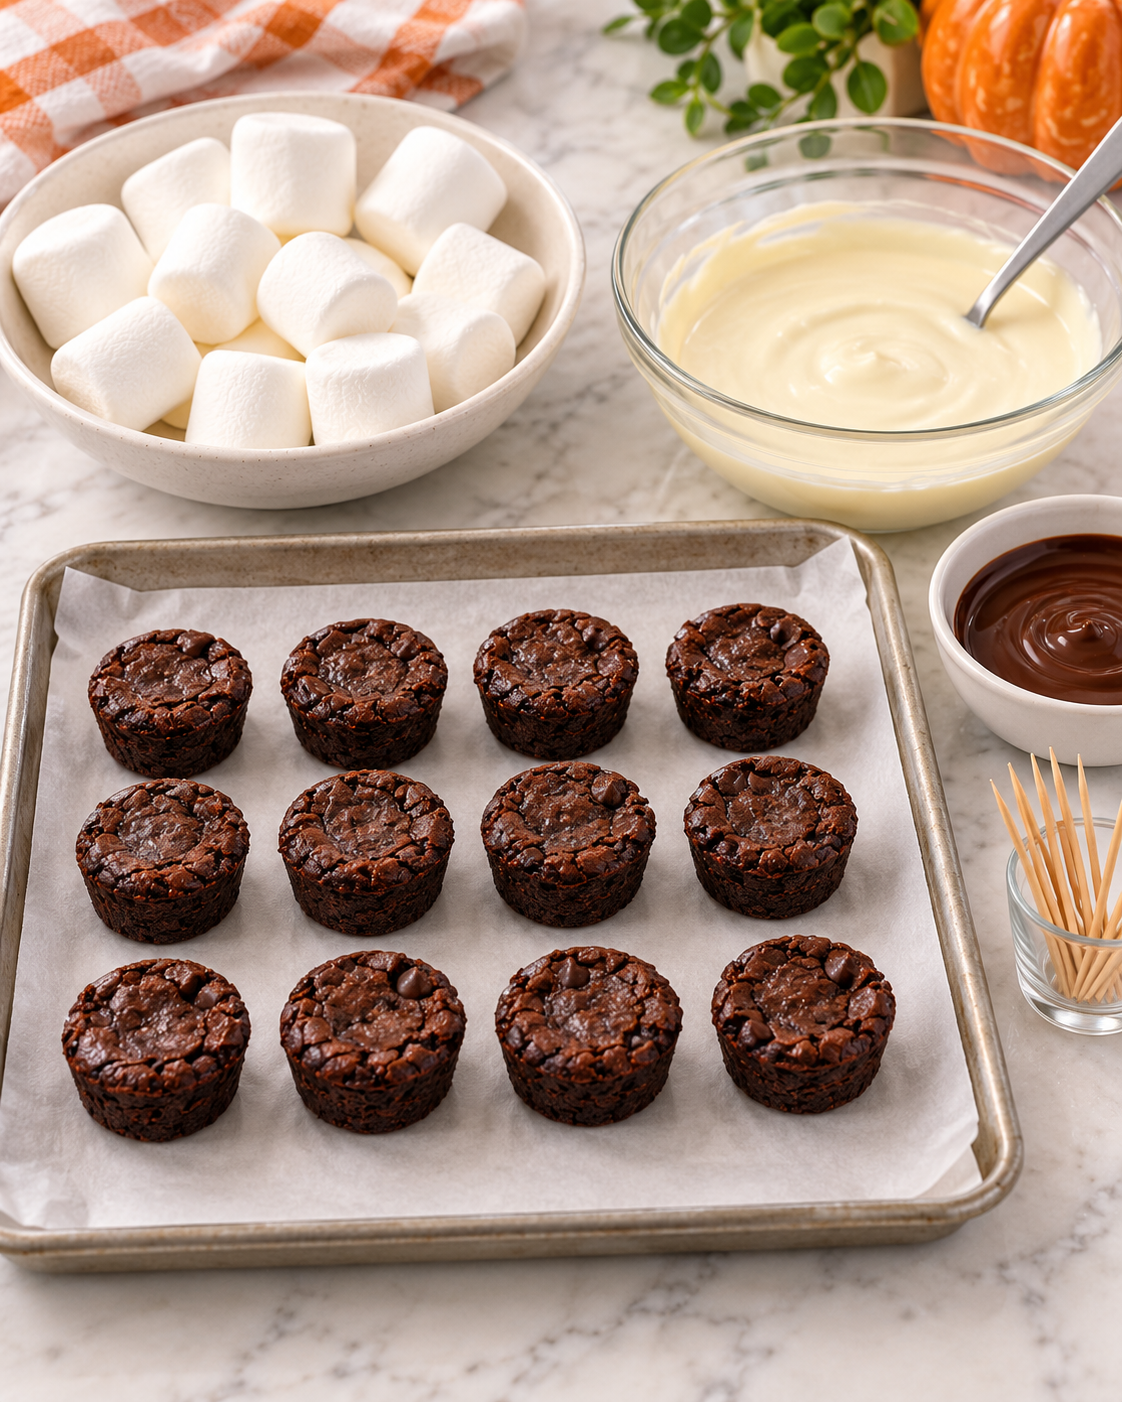
Arrange 12 cooled mini brownie bites on a parchment-lined tray or individual small plates. Make sure the brownies are completely cool before decorating. Any warmth can soften the marshmallows and prevent the white coating from setting correctly.
2. Add the marshmallows
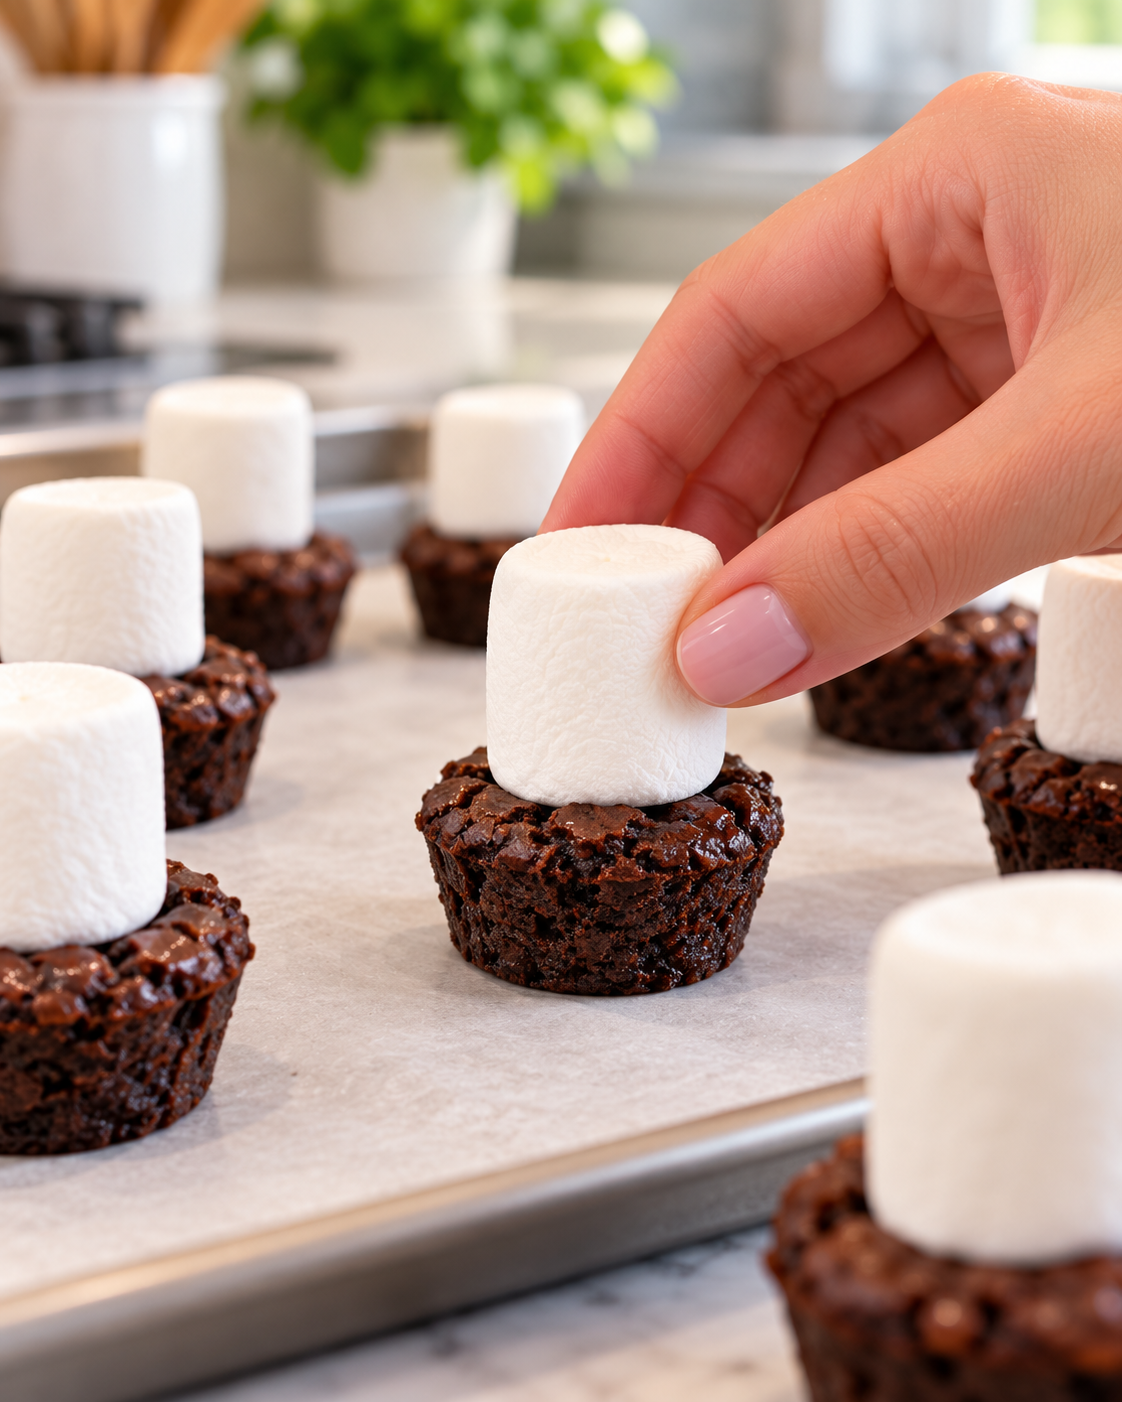
Place one large marshmallow upright in the center of each brownie bite. Press very gently so it stays in place, but do not push it deeply into the brownie. Keeping the marshmallow centered helps the coating flow evenly around all sides.
3. Create the draped ghost coating
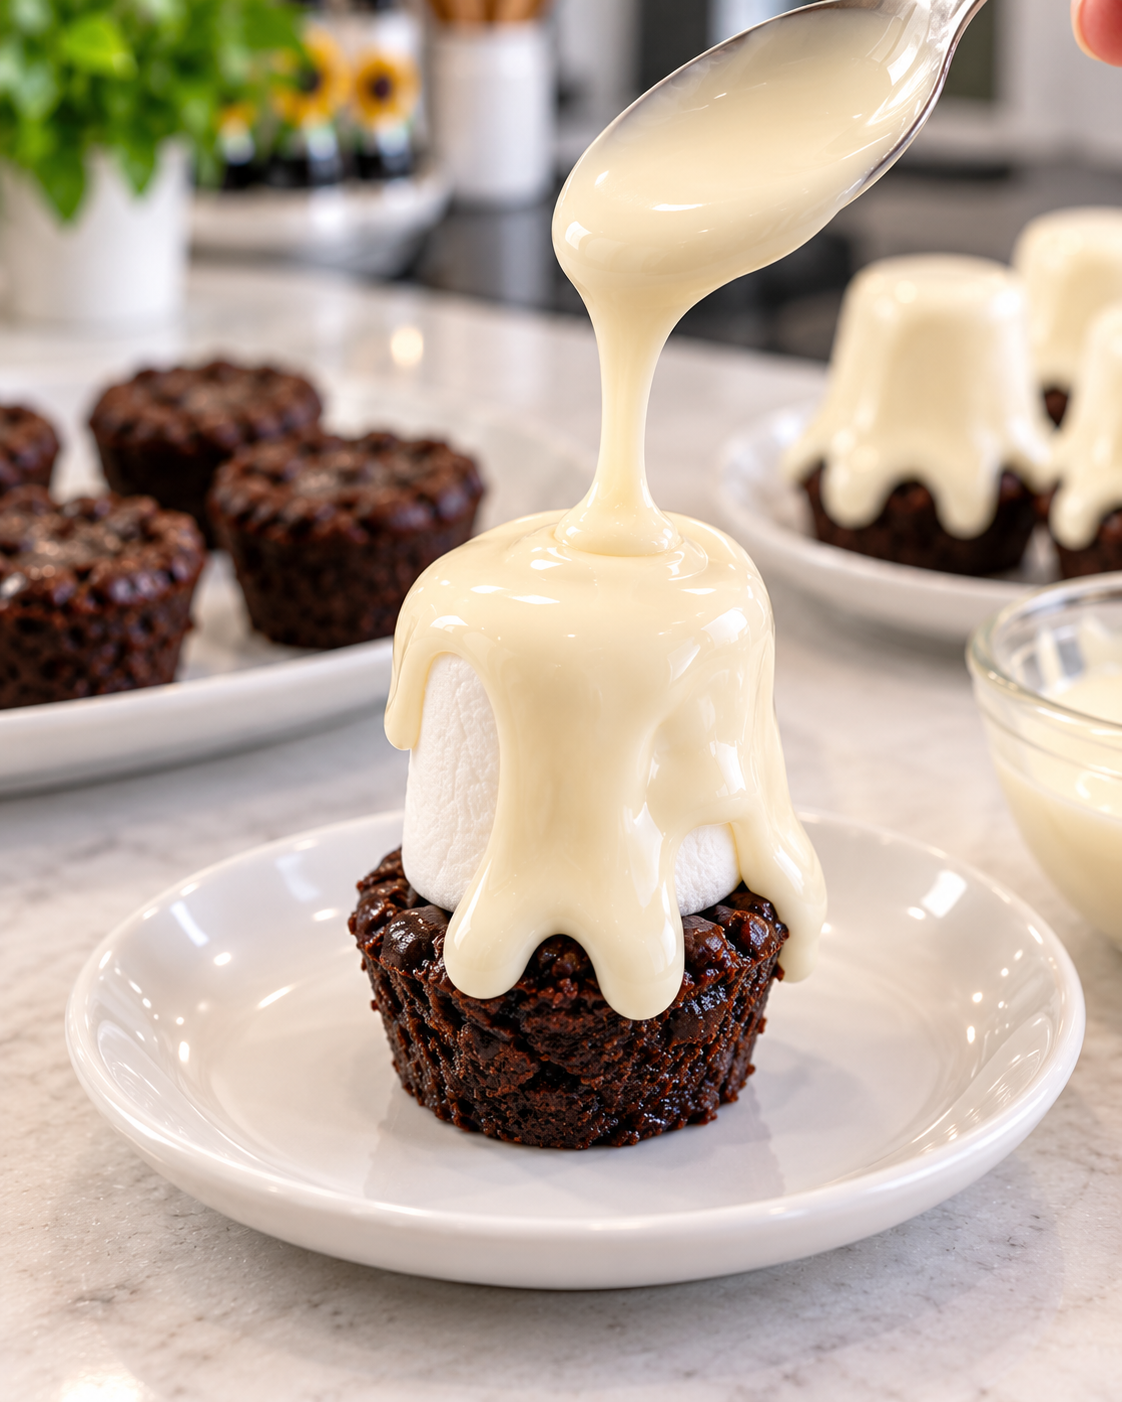
Melt the white chocolate or candy melts until smooth. Spoon or squeeze it over the top of each marshmallow, allowing it to flow naturally down the sides and over part of the brownie. Uneven rounded drips are ideal because they create the playful bottom edge of the ghost. Let the coating sit undisturbed until it no longer moves.
4. Draw the ghost faces
Dip the tip of a toothpick into melted semisweet chocolate. Add two small round eyes, then draw one vertical oval mouth below them. Use a fresh toothpick when needed to keep the details neat. Allow the faces to set completely before moving the brownies to a serving platter.
Tips for the Best Ghost Shape
- Use brownie bites with level tops so the marshmallows stand straight.
- Melt white chocolate slowly and stir often to prevent scorching.
- If the coating is too thick to flow, stir in a very small amount of neutral oil or cocoa butter.
- Work with one or two ghosts at a time so you can control the drips.
- Wait until the white coating is firm before drawing the face.
- Keep the eyes small; oversized details can slide before the chocolate sets.
Storage and Make-Ahead Instructions
The brownie bites can be baked up to one day in advance and stored in an airtight container at room temperature. Decorated ghost brownies are best served the same day, but they may be refrigerated in a single layer for up to three days. Let them sit at room temperature for about 15 minutes before serving so the brownie texture softens.
Frequently Asked Questions
Can I use candy melts instead of white chocolate?
Yes. White candy melts are often easier to melt and set more quickly, which makes them a convenient choice for party preparation.
Can I use store-bought brownie bites?
Absolutely. Store-bought brownie bites make this a fast, no-bake decorating project. Choose sturdy bites that can support a large marshmallow.
Why is my white chocolate too thick?
White chocolate can become thick if overheated or exposed to moisture. Melt it gently in short intervals and stir between each one. A tiny amount of coconut oil can help create a smoother flow.
Halloween Ghost Brownie Bites
Mini brownie bites topped with marshmallows, draped in white chocolate, and decorated with simple semisweet chocolate ghost faces.
Prep Time: 25 minutes | Setting Time: 20 minutes | Yield: 12 ghost brownies
Ingredients
- 12 baked mini brownie bites, completely cooled
- 12 large marshmallows
- 10 ounces white chocolate or white candy melts
- 2 ounces semisweet chocolate, melted
Instructions
- Arrange the cooled brownie bites on a parchment-lined tray or individual small plates.
- Place one large marshmallow upright in the center of each brownie.
- Melt the white chocolate until smooth, then spoon or squeeze it over each marshmallow. Let it flow down the sides and over part of the brownie to create a draped ghost shape.
- Allow the white coating to set until it no longer moves.
- Dip a toothpick into the melted semisweet chocolate. Add two small round eyes and one vertical oval mouth to each ghost.
- Let the faces set completely before arranging the ghost brownies on a serving platter.
Note: Store decorated brownies in a single layer to protect the chocolate faces.