Ever wondered if you should flip a spatchcock chicken while cooking? It’s a question that pops up more often than you’d think. Spatchcocking, or butterflying, is a method where you remove the chicken’s backbone so it lays flat. This technique is loved for its quick cooking time and crispy skin results. But when it comes to cooking, should you be flipping it over or leaving it as is? Let’s dive into the details and find out.
Table of Contents
Key Takeaways
- Spatchcocking a chicken involves removing the backbone to let it lie flat for even cooking.
- Flipping the chicken during cooking can help achieve an even crispiness on both sides.
- Not flipping might result in a juicier breast, as it retains more moisture.
- Some experts prefer not to flip to maintain the presentation and skin texture.
- Experimenting with both methods can help you find your preferred cooking style.
Understanding the Spatchcock Technique
What is Spatchcocking?
Spatchcocking, also known as butterflying, is a technique where you remove the backbone of a chicken, allowing it to lay flat. This method is simple yet effective, making your chicken cook more evenly and faster. The bird is split down the middle and opens up like a butterfly, hence the name. This technique provides a more consistent roasting experience, ensuring both the breast and thighs cook at the same rate.
Benefits of Spatchcocking
Spatchcocking offers several advantages:
- Faster Cooking: By flattening the bird, you reduce cooking time significantly, which is especially useful for larger birds like turkeys.
- Even Cooking: The flattened shape ensures that all parts of the chicken are on the same level, so everything cooks evenly.
- Crispy Skin: With more surface area exposed to the heat, the skin becomes deliciously crispy, a favorite among many.
- Easy Seasoning: With the bird spread out, seasoning becomes a breeze, allowing flavors to penetrate more effectively.
Tools Needed for Spatchcocking
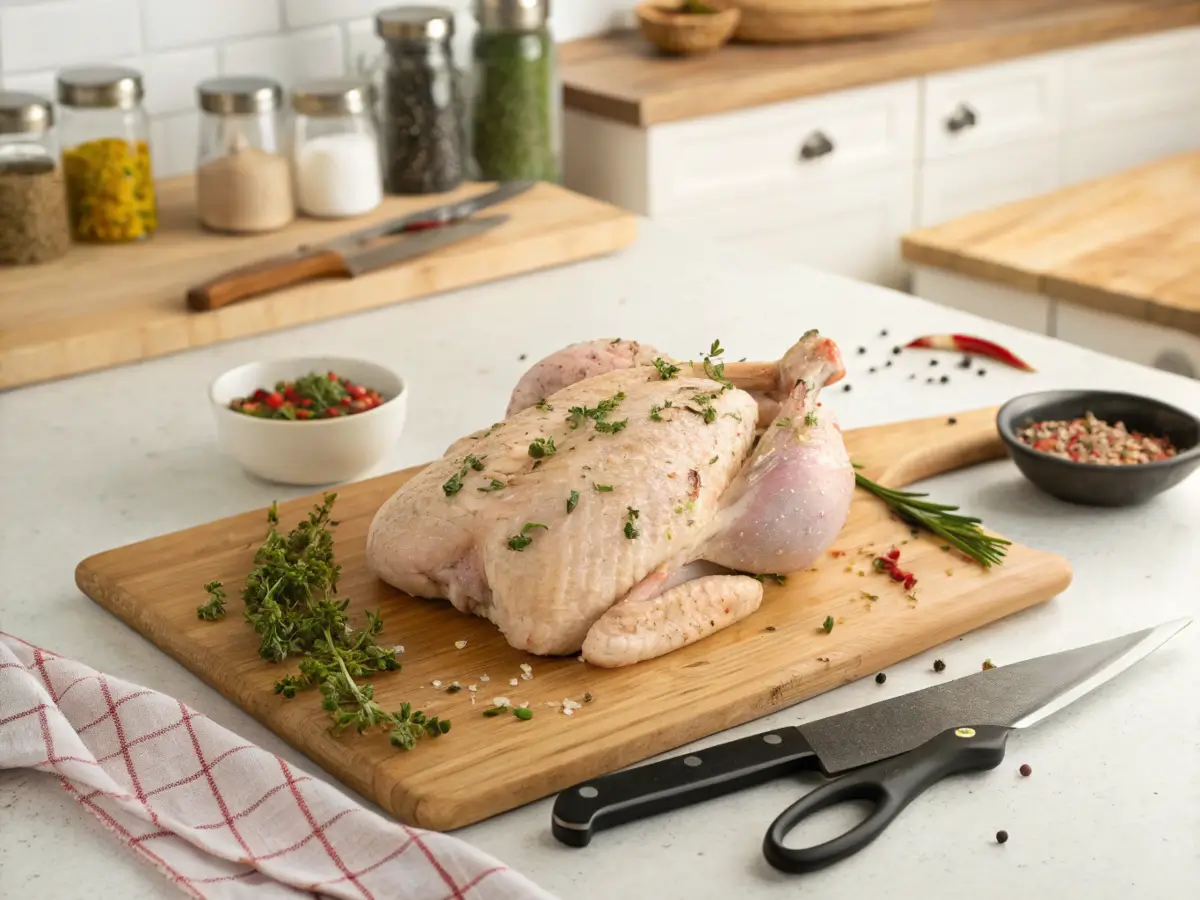
To spatchcock a chicken, you’ll need:
- Sharp Kitchen Shears: Essential for cutting through the backbone with ease.
- Cutting Board: A sturdy surface to work on.
- Paper Towels: Useful for patting the chicken dry before cutting.
Spatchcocking might seem daunting at first, but once you try it, you’ll see how it transforms your cooking game. The result is a perfectly roasted chicken with crispy skin and juicy meat, making it a technique worth mastering.
Preparing Your Chicken for Spatchcocking

Selecting the Right Chicken
When you’re at the store, eyeing those rows of poultry, remember: not all chickens are created equal. Start by choosing a bird that feels plump and firm to the touch. Avoid chickens that look pale or have a lot of liquid in the packaging—that’s a sign they might be waterlogged, which could make your chicken dry. A bird around 3 to 4 pounds is perfect for spatchcocking, as it cooks evenly and quickly.
Essential Tools for the Job
Before you tackle the spatchcocking process, gather your tools. You’ll need:
- Kitchen Shears: A strong pair to cut through the backbone.
- A sturdy cutting board.
- Paper towels to pat the chicken dry.
These tools make the task straightforward, even if you’re not a kitchen pro.
Step-by-Step Spatchcocking Guide
- Prepare the Bird: Place your chicken breast-side down on the cutting board. This exposes the backbone, which is your target.
- Remove the Backbone: Using kitchen shears, cut along one side of the backbone from tail to neck, then repeat on the other side. Don’t be afraid to use a bit of muscle.
- Flatten the Chicken: Flip the bird over, breast-side up. Press down firmly on the breast bone until you hear a crack. This step ensures even cooking.
- Final Touches: Pat the chicken dry again to ensure crispy skin during cooking. Season as desired.
Spatchcocking isn’t just a fancy word; it’s a technique that transforms how your chicken cooks. By removing the backbone and flattening the bird, you ensure that the chicken breast and thighs cook at the same rate, resulting in juicy meat and crispy skin.
The Cooking Process: To Flip or Not to Flip?
Why Flipping Matters
Flipping a spatchcock chicken can influence the texture and taste, particularly in terms of achieving a crispy skin. When you flip the chicken, you allow both sides to be exposed to direct heat, which can help in rendering fat and crisping up the skin. However, the decision to flip often depends on the cooking method and personal preference.
Pros and Cons of Flipping
- Pros:
- Helps in achieving even browning on both sides.
- Can enhance the crispiness of the skin when cooked over direct heat.
- Allows juices to redistribute more evenly, potentially improving flavor.
- Cons:
- Flipping can be tricky and might lead to tearing of the skin.
- May disrupt the cooking process, especially if not done carefully.
- If cooking with indirect heat, flipping might not be necessary and could prolong the cooking time.
Expert Opinions on Flipping
There’s a divide among chefs and home cooks on whether flipping is essential. Some argue that starting with the skin side down and then flipping halfway through ensures crispy skin and even cooking. Others suggest leaving the chicken skin side up throughout the cook, especially when using indirect methods, to maintain juiciness and simplify the process.
Cooking a spatchcock chicken without flipping can still result in a delicious meal, as long as you monitor the internal temperature closely. Aim for an internal temperature of 165°F to ensure the chicken is safely cooked.
Ultimately, whether you flip or not, it’s about finding what works best for your setup and taste. For those interested in experimenting with different techniques, consider trying both methods to see which yields the best results for you. If you’re looking for a flavorful twist, you might want to explore using shredded rotisserie chicken mixed with buffalo sauce as an alternative filling in a dish like Buffalo Chicken Stromboli.
Achieving Perfectly Crispy Skin

Importance of Skin Crispiness
Getting that crispy skin on your spatchcock chicken is like hitting the jackpot at a carnival. It’s the golden prize everyone wants. The crispiness adds texture and flavor, making each bite a little celebration in your mouth. Crispy skin isn’t just about looks; it’s about that satisfying crunch that complements the juicy meat underneath.
Techniques for Crispy Skin
- Dry the Skin: Moisture is your biggest enemy when aiming for crispy skin. Pat the chicken dry with paper towels before cooking. You can even leave it uncovered in the fridge for a few hours to help dry it out.
- Use Butter or Oil: Slather your chicken with butter or oil before cooking. This not only helps in browning but also adds a delicious flavor. Some folks swear by using butter for an extra rich taste.
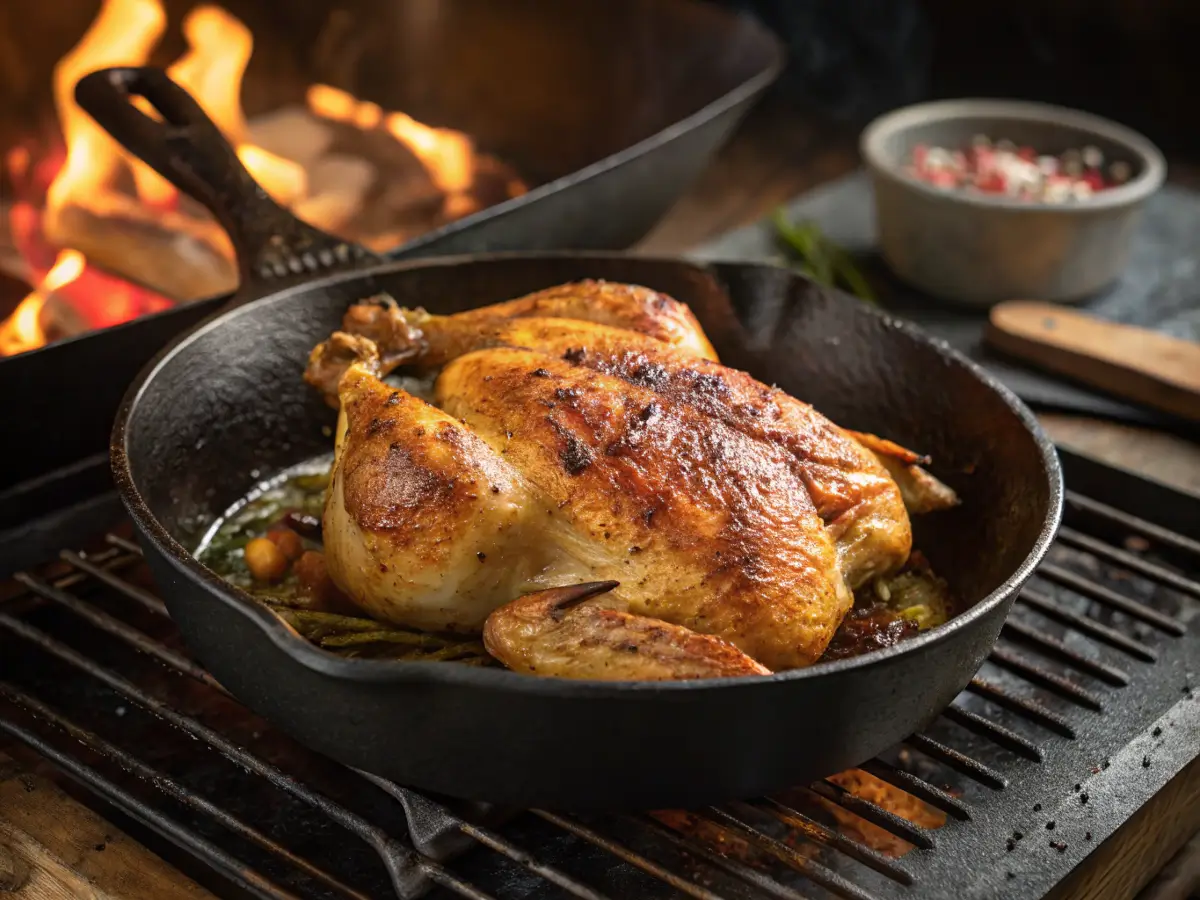
- High Heat Cooking: Start cooking at a higher temperature. This can help render the fat beneath the skin faster, leading to crispier results. You might begin at 425°F, then crank it up to 500°F for the last few minutes.
Common Mistakes to Avoid
- Skipping the Drying Step: Never skip drying the skin. Wet skin will steam rather than crisp.
- Cooking at Low Temperatures: Low heat can leave you with rubbery skin. Always opt for higher heat to get that crispy finish.
- Not Using Enough Fat: Don’t be stingy with the butter or oil. It plays a crucial role in getting that desired crispiness.
Remember, the key to crispy skin is managing moisture and heat effectively. Don’t rush the process; give your chicken the attention it deserves. With these tips, you’ll be biting into the crispiest skin you’ve ever made.
Serving and Enjoying Your Spatchcock Chicken

Carving the Spatchcock Chicken
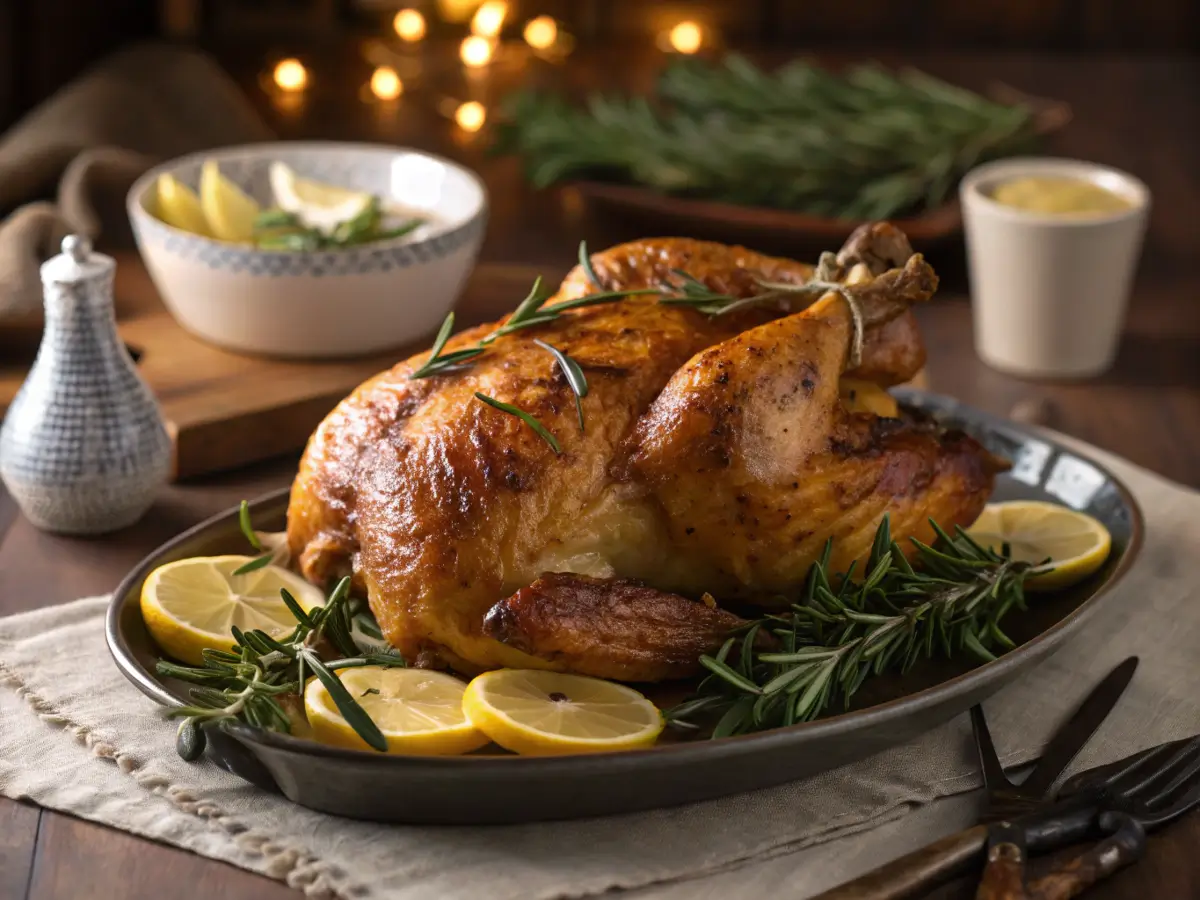
Once your spatchcock chicken is perfectly roasted, it’s time to carve and serve it. Start by placing the chicken on a clean cutting board. Use a sharp knife to separate the legs from the body by cutting through the joint where the thigh meets the body. Next, slice along the breastbone to remove the breast meat. Finally, cut the wings off at the joint. Arrange the pieces neatly on a serving platter.
Pairing Suggestions
Pairing your spatchcock chicken with the right sides can elevate your meal. Consider these options:
- Roasted vegetables: Carrots, potatoes, and Brussels sprouts work well.
- Salads: A fresh green salad with a tangy vinaigrette complements the savory flavors of the chicken.
- Grains: Serve with quinoa or rice pilaf for a complete meal.
Storing Leftovers Properly
If you have leftovers, store them properly to maintain flavor and safety. Place the chicken in an airtight container and refrigerate it within two hours of cooking. It should be consumed within three to four days. For longer storage, freeze the chicken in portions. Ensure to label each container with the date to keep track of its freshness.
Savoring a spatchcock chicken is not just about the meal itself, but also about how you present and pair it with other dishes. The right accompaniments can transform your dining experience, making it memorable and satisfying.
Exploring Flavor Variations
Marinades and Rubs
When it comes to spatchcock chicken, the right marinade or rub can make all the difference. A good marinade not only enhances flavor but also helps keep the meat juicy. Consider these options:
- Citrus Marinade: A blend of lemon, lime, and orange juice can add a zesty punch.
- Herb Rub: Fresh rosemary, thyme, and oregano mixed with olive oil create a fragrant coating.
- Spicy Mix: Combine paprika, cayenne pepper, and garlic powder for a kick of heat.
Herbs and Spices
Herbs and spices are your best friends in the kitchen. They can transform a simple chicken into a gourmet dish. Here are some to try:
- Thyme and sage for a classic flavor
- Cumin and coriander for a touch of earthiness
- Basil and parsley for a fresh taste
International Flavor Inspirations
Why not take your taste buds on a trip around the world? Each culture has its own unique way of preparing chicken:
- Mediterranean: Use olive oil, lemon, and oregano.
- Asian: Try soy sauce, ginger, and sesame oil.
- Latin American: Go for lime, cilantro, and chili powder.
Experimenting with different flavors can turn a simple meal into an exciting culinary adventure. Don’t be afraid to try something new and adjust the temperature and salt levels to your liking.
For more on cooking with spices, check out this guide on seasoning shrimp and green beans.
Troubleshooting Common Issues
Uneven Cooking Solutions
Sometimes, your chicken might cook unevenly, leaving you with dry breast meat and undercooked thighs. To tackle this, consider these steps:
- Preheat your oven or grill thoroughly before placing the chicken inside. This ensures consistent heat distribution.
- Use a meat thermometer to monitor the internal temperature of different parts of the chicken. Aim for 165°F in the thickest part of the thigh.
- If necessary, tent the breast with foil to prevent overcooking while the legs finish cooking.
Consistent temperature is key. Without it, you might end up with a chicken that’s overcooked in some spots and raw in others.
Dealing with Dry Meat
Dry meat can ruin the joy of your meal. If you find your chicken too dry, here are a few tricks to try:
- Brine your chicken before cooking. This adds moisture and flavor.
- Baste the chicken with juices or a butter mixture during cooking to keep it moist.
- Let the chicken rest for 10-15 minutes post-cooking. This allows juices to redistribute, keeping the meat tender.
Fixing Underwhelming Flavors
Sometimes, even with the best efforts, the flavors just don’t pop. Here’s how to amp them up:
- Season generously with salt and pepper before cooking. Don’t be shy with the spices.
- Marinate the chicken for several hours or overnight. This gives time for flavors to penetrate the meat.
- Experiment with different herbs and spices to find a combination that excites your taste buds.
Remember, a well-seasoned chicken can make all the difference between a bland meal and a memorable one.
Conclusion
So, do you really need to flip a spatchcock chicken? Well, not necessarily. The beauty of spatchcocking is that it allows the chicken to cook evenly without the need for flipping. By laying the bird flat, both the white and dark meat cook at the same rate, and you get that crispy skin everyone loves. Plus, it’s quicker and easier to manage. So next time you’re roasting a chicken, give spatchcocking a try. You might just find it’s your new go-to method for a deliciously simple meal.
Frequently Asked Questions
What does it mean to spatchcock a chicken?
Spatchcocking a chicken means removing its backbone so it can lay flat for cooking. This technique helps the chicken cook more evenly and quickly, resulting in crispy skin and juicy meat.
Why should I spatchcock my chicken?
Spatchcocking speeds up cooking time and ensures even heat distribution. If you’re wondering whether to flip a Spatchcock chicken while cooking, the method you choose can affect crispiness and moisture retention.
Do I need special tools to spatchcock a chicken?
To spatchcock a chicken, you’ll need a strong pair of kitchen shears. A sturdy cutting board is also helpful to ensure a clean cut. If you plan to flip a Spatchcock chicken during cooking, using tongs can make the process easier.
Should I flip a Spatchcock chicken while cooking?
Flipping a Spatchcock chicken can help it cook evenly, especially if using a grill or direct heat source. However, some cooks prefer leaving it skin-side up to maintain crispiness. It ultimately depends on your preferred texture and cooking method.
How do I know when my Spatchcock chicken is done?
The best way to check if your chicken is fully cooked is to use a meat thermometer. The thickest part of the chicken should reach 165°F for safe consumption. Whether you flip a Spatchcock chicken or not, monitoring the temperature ensures perfect results.
Can I spatchcock other birds besides chicken?
Yes! You can spatchcock turkeys, ducks, and even smaller game birds. The same flattening method applies, whether you choose to flip a Spatchcock chicken or leave it undisturbed during cooking.
Should You Flip a Spatchcock Chicken While Cooking
- Total Time: 1 hour 5 minutes
- Yield: 4–6 servings 1x
Description
Spatchcock chicken is a time-saving method for juicy, evenly cooked chicken with crispy skin. But should you flip it during cooking? This guide explores the pros and cons of flipping, the best techniques for crispy skin, and tips to ensure the perfect roast every time. Whether you choose to flip or not, this method guarantees delicious results.
Ingredients
- 1 whole chicken (4–5 lbs)
- 2 tablespoons olive oil or melted butter
- 1 teaspoon salt
- 1 teaspoon black pepper
- 1 teaspoon garlic powder
- 1 teaspoon onion powder
- 1 teaspoon smoked paprika
- 1 teaspoon dried thyme (or fresh sprigs)
- 1 teaspoon dried rosemary (or fresh sprigs)
- 1 lemon, sliced (for garnish)
- 4 cloves garlic, smashed (optional)
Instructions
- Preheat Oven: Set oven to 425°F (220°C). Line a baking sheet with parchment paper or foil.
- Spatchcock the Chicken: Place the chicken breast-side down on a cutting board. Using kitchen shears, cut along both sides of the backbone and remove it. Flip the chicken over and press down on the breastbone to flatten.
- Season the Chicken: Pat the chicken dry with paper towels. Rub with olive oil or melted butter. Season with salt, pepper, garlic powder, onion powder, smoked paprika, thyme, and rosemary on both sides.
- Roast Without Flipping:
- Option 1 (No Flipping): Place chicken skin-side up on a wire rack over a baking sheet. Roast for 45-55 minutes or until the thickest part reaches 165°F (74°C).
- Option 2 (Flipping Once): Roast skin-side down for 20 minutes, then flip skin-side up for the remaining time to crisp the skin.
- Rest & Serve: Let the chicken rest for 10 minutes before carving. Serve with roasted vegetables, mashed potatoes, or a fresh salad.
Notes
- For Extra Crispy Skin: Dry the chicken thoroughly before seasoning and let it rest uncovered in the fridge for 1 hour.
- Flipping Pros & Cons: Flipping can ensure even browning, but leaving it skin-side up produces crispier skin.
- Grilling Option: Cook over indirect heat on a grill at 375-400°F for 40-50 minutes.
- Prep Time: 15 minutes
- Cook Time: 50 minutes
Nutrition
- Serving Size: 1/4 chicken
- Calories: ~320 kcal
- Sugar: 0g
- Sodium: 500mg
- Fat: 22g
- Saturated Fat: 6g
- Carbohydrates: 2g
- Fiber: 0.5g
- Protein: 30g
- Cholesterol: 110mg
Keywords: Spatchcock chicken cooking technique How to roast spatchcock chicken Spatchcock chicken cooking time How to get crispy skin on spatchcock chicken High-temperature roasted chicken
