
Ever find yourself craving popovers but all you have is a muffin pan? You’re not alone. Many home bakers wonder, “Can I use a muffin pan instead of a popover pan?” The short answer is yes, you can. While the results might not be exactly the same, with a few tweaks, you can still enjoy delicious popovers. Let’s dig into how you can make the most of what you have in your kitchen and whip up some tasty popovers.
Table of contents
Key Takeaways
- You can use a muffin pan instead of a popover pan with some adjustments.
- Preheating the muffin pan helps achieve a better rise for your popovers.
- Fill the muffin cups only halfway to prevent overflow and ensure a good rise.
- Resting the batter before baking can improve the popover’s texture.
- Using a higher initial baking temperature is important for creating steam.
Understanding Popovers
Popovers are a delightful treat that many find both fascinating and a bit intimidating. These airy popovers are known for their light, crisp exterior and soft, custardy interior. But what makes them rise so beautifully? It’s all about steam! Unlike other baked goods that rely on baking powder or yeast, popovers depend on steam to puff up to their lofty heights.
Imagine a simple batter transforming into a towering, golden-brown beauty, all thanks to the magic of steam. That’s the allure of popovers.
Key Characteristics of Popovers
- Simple Ingredients: Just five basic ingredients—flour, eggs, milk, butter, and salt—come together to create this marvel.
- Unique Texture: The contrast between the crunchy exterior and soft interior makes them a favorite at any table.
- Versatile Use: Serve them as a side dish, a snack, or even a dessert with a sweet topping.
Why Popovers Pop
The secret lies in the batter’s composition. It’s thinner than pancake batter yet thicker than crêpe batter. This thin batter is crucial because it allows for the right amount of steam to build up inside the popover, pushing the batter upwards and creating that signature “pop.”
Popover Pans vs. Muffin Pans
While traditional popover pans are ideal due to their deep, narrow cups, you can still achieve great results with a muffin pan. The key is ensuring even heat distribution to help the popovers rise properly.
Common Popover Challenges
- Falling Flat: This often happens if the batter isn’t properly hydrated or if the oven isn’t hot enough.
- Dense Texture: Overmixing the batter can lead to a denser popover, so mix just until combined.
Popovers are indeed a bit of a science, but with the right technique, you can master the art of making the perfect popover. Whether you’re using traditional popover pans or improvising with a muffin pan, the key is to embrace the process and enjoy the delicious results. Remember, practice makes perfect, and each attempt brings you closer to popover perfection.
Essential Ingredients for Popovers
Making popovers is a straightforward process, but having the right ingredients is key to achieving that perfect puff and texture. Here’s what you’ll need:
- All-purpose flour: This forms the base of your popover batter, providing structure.
- Eggs: The high egg content is crucial. It helps the popovers rise and gives them their unique texture.
- Whole milk: Using whole milk adds richness and creates a soft, custardy interior.
- Butter: Melted butter not only adds flavor but also helps in creating a crispy outer shell.
- Sugar: A small amount of sugar enhances the flavor without making the popovers sweet.
- Teaspoon salt: Salt is essential for balancing flavors and enhancing the overall taste.
Popovers are all about simplicity. With just a handful of ingredients, you can create something truly special. The secret lies in the balance and quality of each component.
Quick Tips:
- Room Temperature Ingredients: Ensure your eggs and milk are at room temperature. This helps the batter to mix more evenly and allows the popovers to rise better.
- Mixing: Mix the batter until just combined. Overmixing can lead to dense popovers.
- Butter in the Pan: Place a small piece of butter in each muffin cup before adding the batter. This helps in achieving that crispy exterior.
By following these guidelines, you’ll be on your way to making delicious popovers that are crispy on the outside and soft on the inside. Don’t be afraid to experiment with flavors, perhaps adding a pinch of herbs or a sprinkle of cheese for a twist on the classic recipe. Enjoy your baking adventure!
Necessary Equipment for Baking
When it comes to baking popovers, having the right equipment can make all the difference. While popover pans are specifically designed for this task, you can also use other kitchen tools to achieve similar results. Here’s what you’ll need:
- Muffin Pan: A muffin pan is a common alternative to a popover pan. It might not give you the same height, but it can still produce delicious popovers. Make sure to grease it well to prevent sticking.
- Mixing Bowl: A large mixing bowl is essential for combining your ingredients smoothly. Opt for a bowl that gives you enough space to whisk without making a mess.
- Whisk: A sturdy whisk helps in mixing the batter thoroughly, ensuring that air is incorporated for that perfect rise.
- Measuring Cups and Spoons: Precision is key in baking. Use these tools to measure out your all-purpose flour, milk, and other ingredients accurately.
For popovers, the right tools can turn a simple recipe into a delightful treat. Even if you don’t have a popover pan, improvising with a muffin pan can still yield tasty results.
Remember, the goal is to create popovers that are light and airy, so choose your equipment wisely and enjoy the baking process.
Preparing the Muffin Pan
When you’re aiming to make popovers but only have muffin tins on hand, don’t worry. With a few tweaks, you can still achieve that delightful puff and crispiness.
Steps to Prepare Your Muffin Pan
- Preheat Your Oven: Start by setting your oven to a high temperature, around 450°F. Place the muffin pan inside as the oven heats up. This ensures that the muffin cup is hot enough to help the batter rise quickly.
- Grease the Muffin Cups: Generously coat each muffin cup with melted butter. This not only prevents sticking but also contributes to the rich flavor and crisp exterior of the popovers. Don’t forget to butter the area around the cups too, as the popovers will expand.
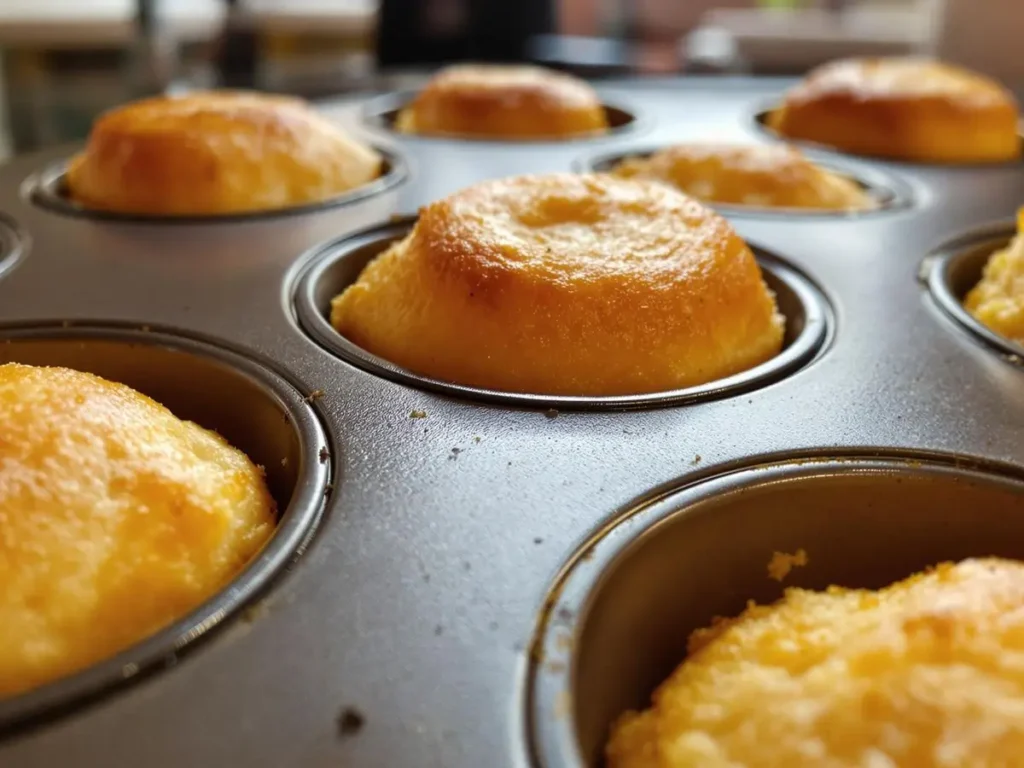
- Pour the Batter: Once your muffin pan is hot and greased, pour the batter into each cup, filling them about halfway. This helps prevent overflow and encourages a better rise.
Using a muffin pan instead of a popover pan can be a convenient alternative. While the shape and rise may differ slightly, the taste remains just as delicious.
Remember, the key to perfect popovers is in the preparation. By following these steps, your muffin pan can serve as a reliable substitute for a popover pan, ensuring your popovers turn out beautifully.
Step-by-Step Instructions for Making Popovers
Mixing the Batter
Start by whisking together 2 eggs and 1 cup of whole milk in a bowl until the mixture is smooth and consistent. Aim for a uniform yellow color, indicating the eggs and milk are well combined. Gradually add 1 cup of all-purpose flour and 1/2 teaspoon of salt to the mixture. Whisk until the batter is mostly smooth, with only a few small lumps remaining. Let the batter rest for about 15 minutes to allow the flour to hydrate fully.
Pouring the Batter into the Pan
Preheat your oven to 450°F. While the oven is warming up, prepare your muffin pan by placing a small piece of butter in each cup. Once the oven is ready, put the pan inside until the butter melts and starts bubbling. Carefully remove the pan and fill each cup about two-thirds full with the batter.
Baking the Popovers
Place the muffin pan on a lower oven rack to ensure even baking. Bake the popovers for 20 minutes at 450°F. After this initial period, reduce the oven temperature to 350°F and continue baking for another 10 to 15 minutes, or until the popovers are a deep golden brown. This gradual temperature change helps them puff up nicely without burning. Once done, remove the popovers from the oven, let them cool slightly, and serve warm.
Tips for Achieving the Perfect Texture
Creating popovers with the ideal texture can be a bit of a challenge, but with a few tips, you’ll be on your way to popover perfection. Achieving the right balance of ingredients and technique is key.
- Use Room Temperature Ingredients: Start by ensuring all your ingredients are at room temperature. Cold ingredients can hinder the batter’s ability to rise properly, leading to dense popovers.
- Smooth Batter is Essential: Whisk your batter until it’s smooth and lump-free. This helps in developing the right amount of gluten, which is necessary for the popovers to rise without becoming too chewy.
- Immediate Baking: Once your batter is ready, pour it into the pan and pop it into a preheated oven right away. Delaying this step can cause the batter to lose its ability to rise effectively.
- Preheat the Oven and Pan: A hot oven is crucial. Preheat your oven to the required temperature and, if possible, preheat the pan as well. This ensures the batter starts cooking immediately, aiding in the rise.
- Avoid Overmixing: While a smooth batter is important, overmixing can lead to too much gluten development, making your popovers tough. Mix just until combined.
A little practice goes a long way with popovers. Each attempt will teach you something new about your oven’s quirks and your batter’s behavior.
Remember, the art of making popovers is not just about following a recipe but understanding how each element contributes to the final texture. With time, you’ll find what works best for you.
Common Mistakes and How to Avoid Them
Making popovers can be a fun kitchen adventure, but certain pitfalls can turn your baking dreams into a flat reality. Here’s a rundown of common mistakes and how you can sidestep them to achieve popover perfection.
Batter Consistency
One of the biggest mistakes is getting the batter consistency wrong. Popovers need a thin batter to rise properly. If your batter is too thick, they won’t rise as expected. Aim for a consistency that’s similar to heavy cream. This helps create steam, which is crucial for that beautiful rise.
Oven Temperature
Another common error is not preheating the oven. Popovers require a hot oven to start rising immediately. Make sure your oven is fully preheated before placing the batter inside. If your oven runs cool, consider using an oven thermometer to ensure accuracy.
Opening the Oven Door
Resist the urge to peek! Opening the oven door during baking can cause your popovers to deflate. Keep the door closed until they’re done to maintain the steam and heat needed for rising.
Using the Wrong Pan
While you can use a muffin pan, using a popover pan can make a difference. Popover pans are designed to allow more air circulation around each popover, which can help them rise higher. If you’re using a muffin pan, ensure it’s non-stick and well-greased.
Overfilling the Cups
Filling the cups too high can lead to spillovers and uneven cooking. Fill each cup about halfway to give your popovers room to expand without making a mess.
Remember, baking is as much about patience as it is about precision. Take your time, follow the steps, and enjoy the process. Mistakes happen, but they’re just stepping stones to better baking.
Serving Suggestions for Your Popovers
Popovers are a versatile treat that can be enjoyed in a variety of ways. Here’s how you can serve them to make the most out of their delightful texture and flavor.
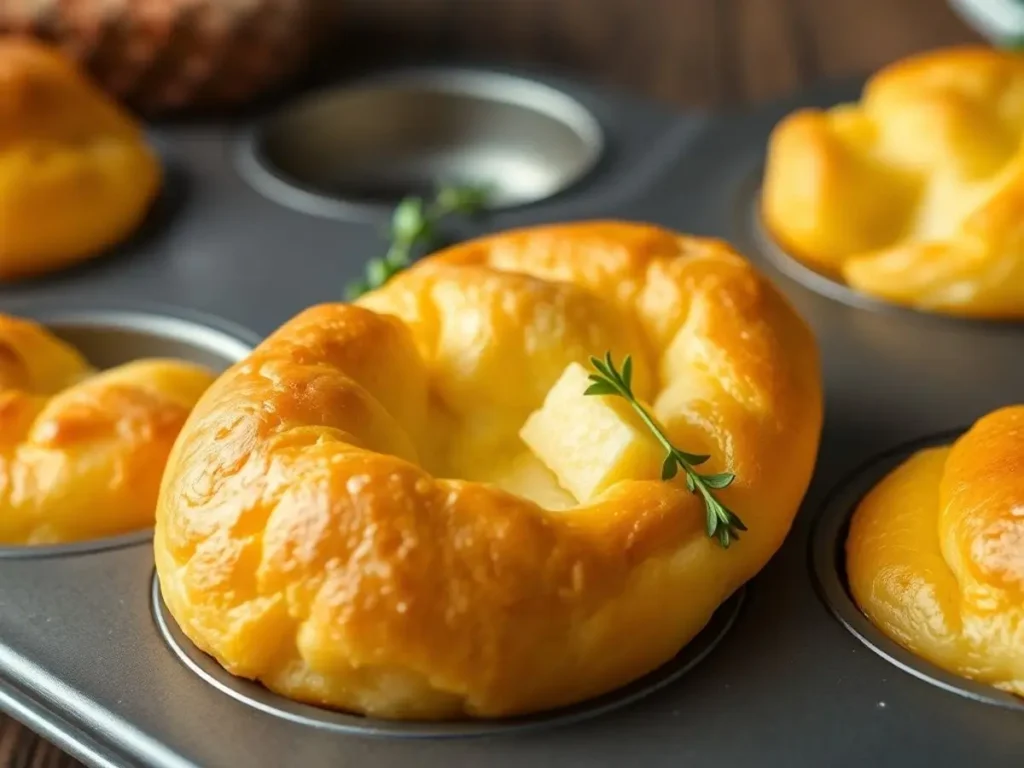
- Classic with Butter: Serve your popovers warm, straight from the oven, with a generous pat of butter. The heat from the popover will melt the butter, creating a simple yet irresistible combination.
- Sweet Delights: For a sweet twist, try serving popovers with a drizzle of honey, a spoonful of jam, or a dusting of powdered sugar. They pair beautifully with fruit preserves or a dollop of whipped cream.
- Savory Pairings: Popovers can also be a great accompaniment to savory dishes. Consider serving them alongside a hearty stew or soup. They can also replace dinner rolls at your next meal.
- Breakfast or Brunch: Include popovers in your breakfast spread with scrambled eggs, bacon, or sausage. Their airy texture complements the richness of breakfast meats perfectly.
- Elegant Appetizers: For a more sophisticated touch, fill your popovers with herbed cream cheese or smoked salmon for a delightful appetizer.
Popovers, with their light and airy structure, are not just a side dish but a canvas for culinary creativity. Whether you prefer them sweet or savory, there’s no wrong way to enjoy a popover.
Variations on Traditional Popovers
Popovers are a delightful treat, but sometimes you want to put a little twist on the classic recipe. Here are some fun variations to try out:
- Cheese Popovers: Add a handful of shredded cheese to the batter. Cheddar, Gruyère, or Parmesan work great. The cheese melts and creates a crispy, savory crust.
- Herb-Infused Popovers: Mix in fresh herbs like rosemary, thyme, or chives. These herbs add a fragrant aroma and a subtle, earthy flavor.
- Sweet Popovers: For a dessert version, incorporate a bit of sugar and vanilla extract into the batter. Sprinkle cinnamon sugar on top before baking for an extra sweet touch.
- Spicy Popovers: If you like a kick, add some finely chopped jalapeños or a pinch of cayenne pepper. These spicy popovers pair well with a Cottage Cheese Buffalo Chicken Dip.
- Whole Wheat Popovers: Substitute half of the all-purpose flour with whole wheat flour for a nuttier taste and a bit more fiber.
Experimenting with different ingredients can lead to delightful surprises. Don’t be afraid to try new things and see what works for your taste buds. Each variation brings out unique flavors and textures, making popovers a versatile dish for any occasion.
Next time you’re in the kitchen, think about these variations. They’re simple tweaks, but they can transform your popovers into something truly special. Try them out and see which one becomes your favorite!
Popovers vs. Yorkshire Pudding: What’s the Difference?
Popovers and Yorkshire pudding share a common ancestry, yet they are distinct in their preparation and use. Both are made from a simple batter of eggs, flour, and milk, but the cooking technique sets them apart.
Key Differences
- Cooking Method: The fundamental difference lies in how they are cooked. Popovers are baked in a pan, often buttered, allowing them to rise and form a crisp exterior. Yorkshire pudding, on the other hand, is traditionally cooked in meat drippings, giving it a richer flavor and softer texture.
- Serving Style: Popovers are typically served as a standalone dish, often with butter or jam. Yorkshire pudding is a classic accompaniment to a roast dinner, soaking up the juices and enhancing the meal’s flavors.
- Texture and Appearance: Popovers are known for their towering, airy structure with a hollow center, while Yorkshire pudding is flatter and more dense, absorbing flavors from the meal.
Popovers and Yorkshire pudding may share the same batter, but their distinct cooking methods create unique culinary experiences.
Similarities
- Ingredients: Both use a similar batter, relying heavily on eggs and milk for their structure.
- Versatility: Both can be adapted with various flavors or served in different settings, from breakfast to dinner.
Understanding these differences can help you choose the right dish for your occasion. Whether you’re enjoying a creative twist on traditional chicken pot pie with popovers or savoring Yorkshire pudding with a roast, each brings its own charm to the table.
Storing Leftover Popovers
Popovers are delightful when fresh out of the oven, but what about leftovers? Storing them properly ensures you can enjoy them later without losing their charm. Here’s how to keep them just right:
- Cool Completely: Before storing, make sure the popovers are completely cool. This helps prevent condensation, which can lead to sogginess.
- Airtight Container: Place cooled popovers in an airtight container. This keeps them from drying out and preserves their soft interior.
- Room Temperature: Store the container at room temperature if you plan to eat them within a day or two. For longer storage, consider freezing.
Popovers might not be as crisp the next day, but their soft, airy insides remain a treat. Reheating can bring back some of that fresh-baked goodness.
For those who prefer a crispier texture, you can reheat popovers in the oven. Set your oven to 350°F and warm them for about 5 minutes. This refreshes their outer crust without overcooking the inside. Remember, though, popovers are best enjoyed fresh, so try not to let them linger too long in storage.
Reheating Popovers for Best Results
Reheating popovers can be a bit tricky if you want to maintain their delightful texture. Here’s how to do it right:
- Preheat your oven to 350°F. Using the oven is the best way to bring back that golden brown crust.
- Arrange the popovers on a baking sheet, leaving space between them for even heating.
- Bake them for about 5-8 minutes. Keep an eye on them to ensure they don’t dry out.
Reheating in the oven ensures that your popovers regain their crisp exterior while keeping the inside soft and airy. Avoid microwaving, as it can make them chewy.
Remember, the key to a perfect reheat is the oven temperature. A consistent 350°F helps achieve the optimal texture without overcooking. Enjoy your warm popovers as if they were freshly baked!
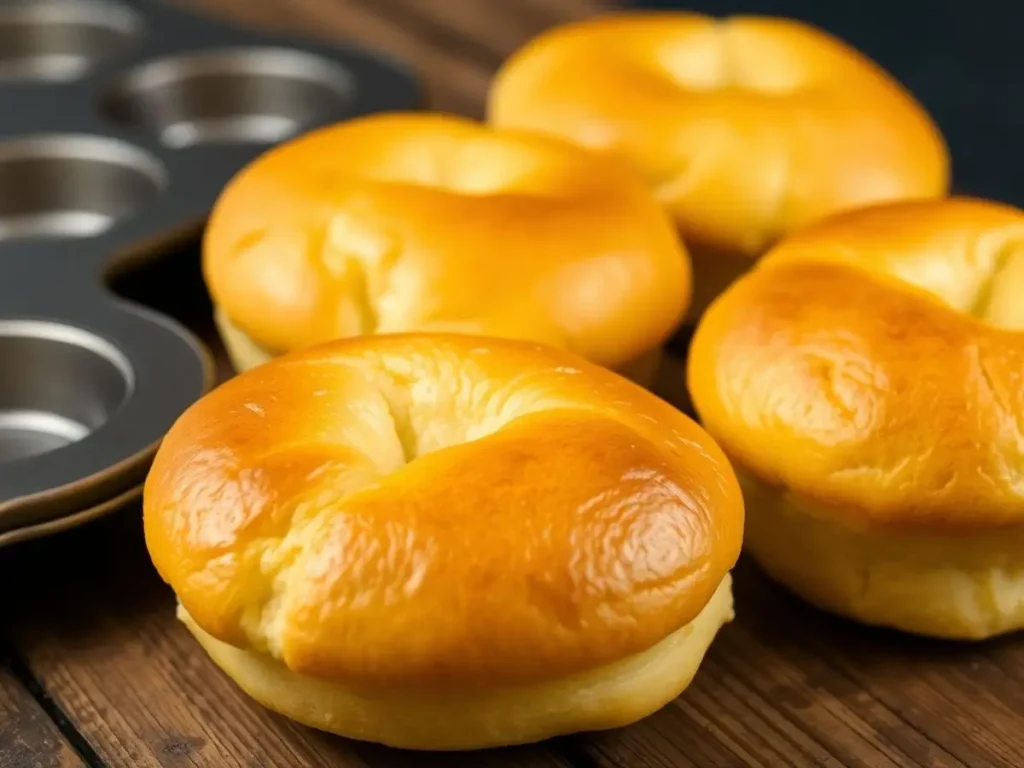
Conclusion
So, there you have it. Muffin pans can totally work for making popovers, even if they aren’t the traditional choice. Sure, they might not rise as high or have that classic shape, but they still taste amazing. With a few tweaks like preheating the pan and using high heat, you can get pretty close to the real deal. Plus, muffin pans are super handy since most of us already have them in our kitchens. So, don’t stress if you don’t have a popover pan. Grab that muffin pan and get baking!
Frequently Asked Questions
Can I use a muffin pan instead of a popover pan?
Yes, you can use a muffin pan to make popovers. While the shape might be a bit different, the taste will still be delicious.
What makes popovers rise so high?
Popovers rise because of steam created in the batter during baking. Using high heat and a preheated pan helps them puff up.
Do I need to preheat the muffin pan?
Yes, preheating the muffin pan helps the batter rise quickly, making the popovers light and airy.
What if I don’t have a popover pan?
No worries! A muffin pan or even ramekins can be used as substitutes, although the results might vary slightly.
How can I make my popovers taste even better?
Try adding herbs or cheese to the batter for extra flavor. Also, serve them with butter, jam, or honey for a tasty treat.
Why do my popovers sometimes deflate?
Popovers can deflate if the oven is opened during baking or if they’re not baked long enough. Make sure to bake them until they’re golden and firm.